

Getting a kitchen island right on paper is what makes it work on installation day. This guide covers the numbers first: worktop depth, overhang, seating and how the finished slab will actually be supported. It then looks at the worktop ideas that suit an island best, from waterfall edges to two-tone schemes, and what drives the cost of each choice. Browse our full stone collections alongside it, or visit our Galway showroom to see large-format slabs in person.
Planning step one
Standard Depth & Length
Most kitchen islands sit on a base cabinet run around 600mm deep, the same depth as standard perimeter units, though the worktop itself is usually cut wider to allow an overhang on one or more sides. Larger islands with seating or a prep zone on the same run often extend to 900mm or 1,000mm deep to fit both comfortably.
Length is driven by the room rather than a fixed rule. As a general guide, a single island needs at least 1,000 to 1,200mm of clear walkway on every side so two people can pass each other, or one person can stand at an open appliance door, without feeling boxed in.
Every project is templated on site before the final cut, so these figures are a starting point for planning rather than a fixed spec. See how we confirm exact dimensions in our installation process.
Rule of thumb
- 600mm base depth is standard, 900 to 1,000mm for dual-purpose islands
- Allow 1,000 to 1,200mm clear walkway on all sides where possible
- Length is set by the room and the cabinet run beneath, not a fixed figure
- Final dimensions are always confirmed at on-site templating stage

Planning step two
Working Out Seating Numbers
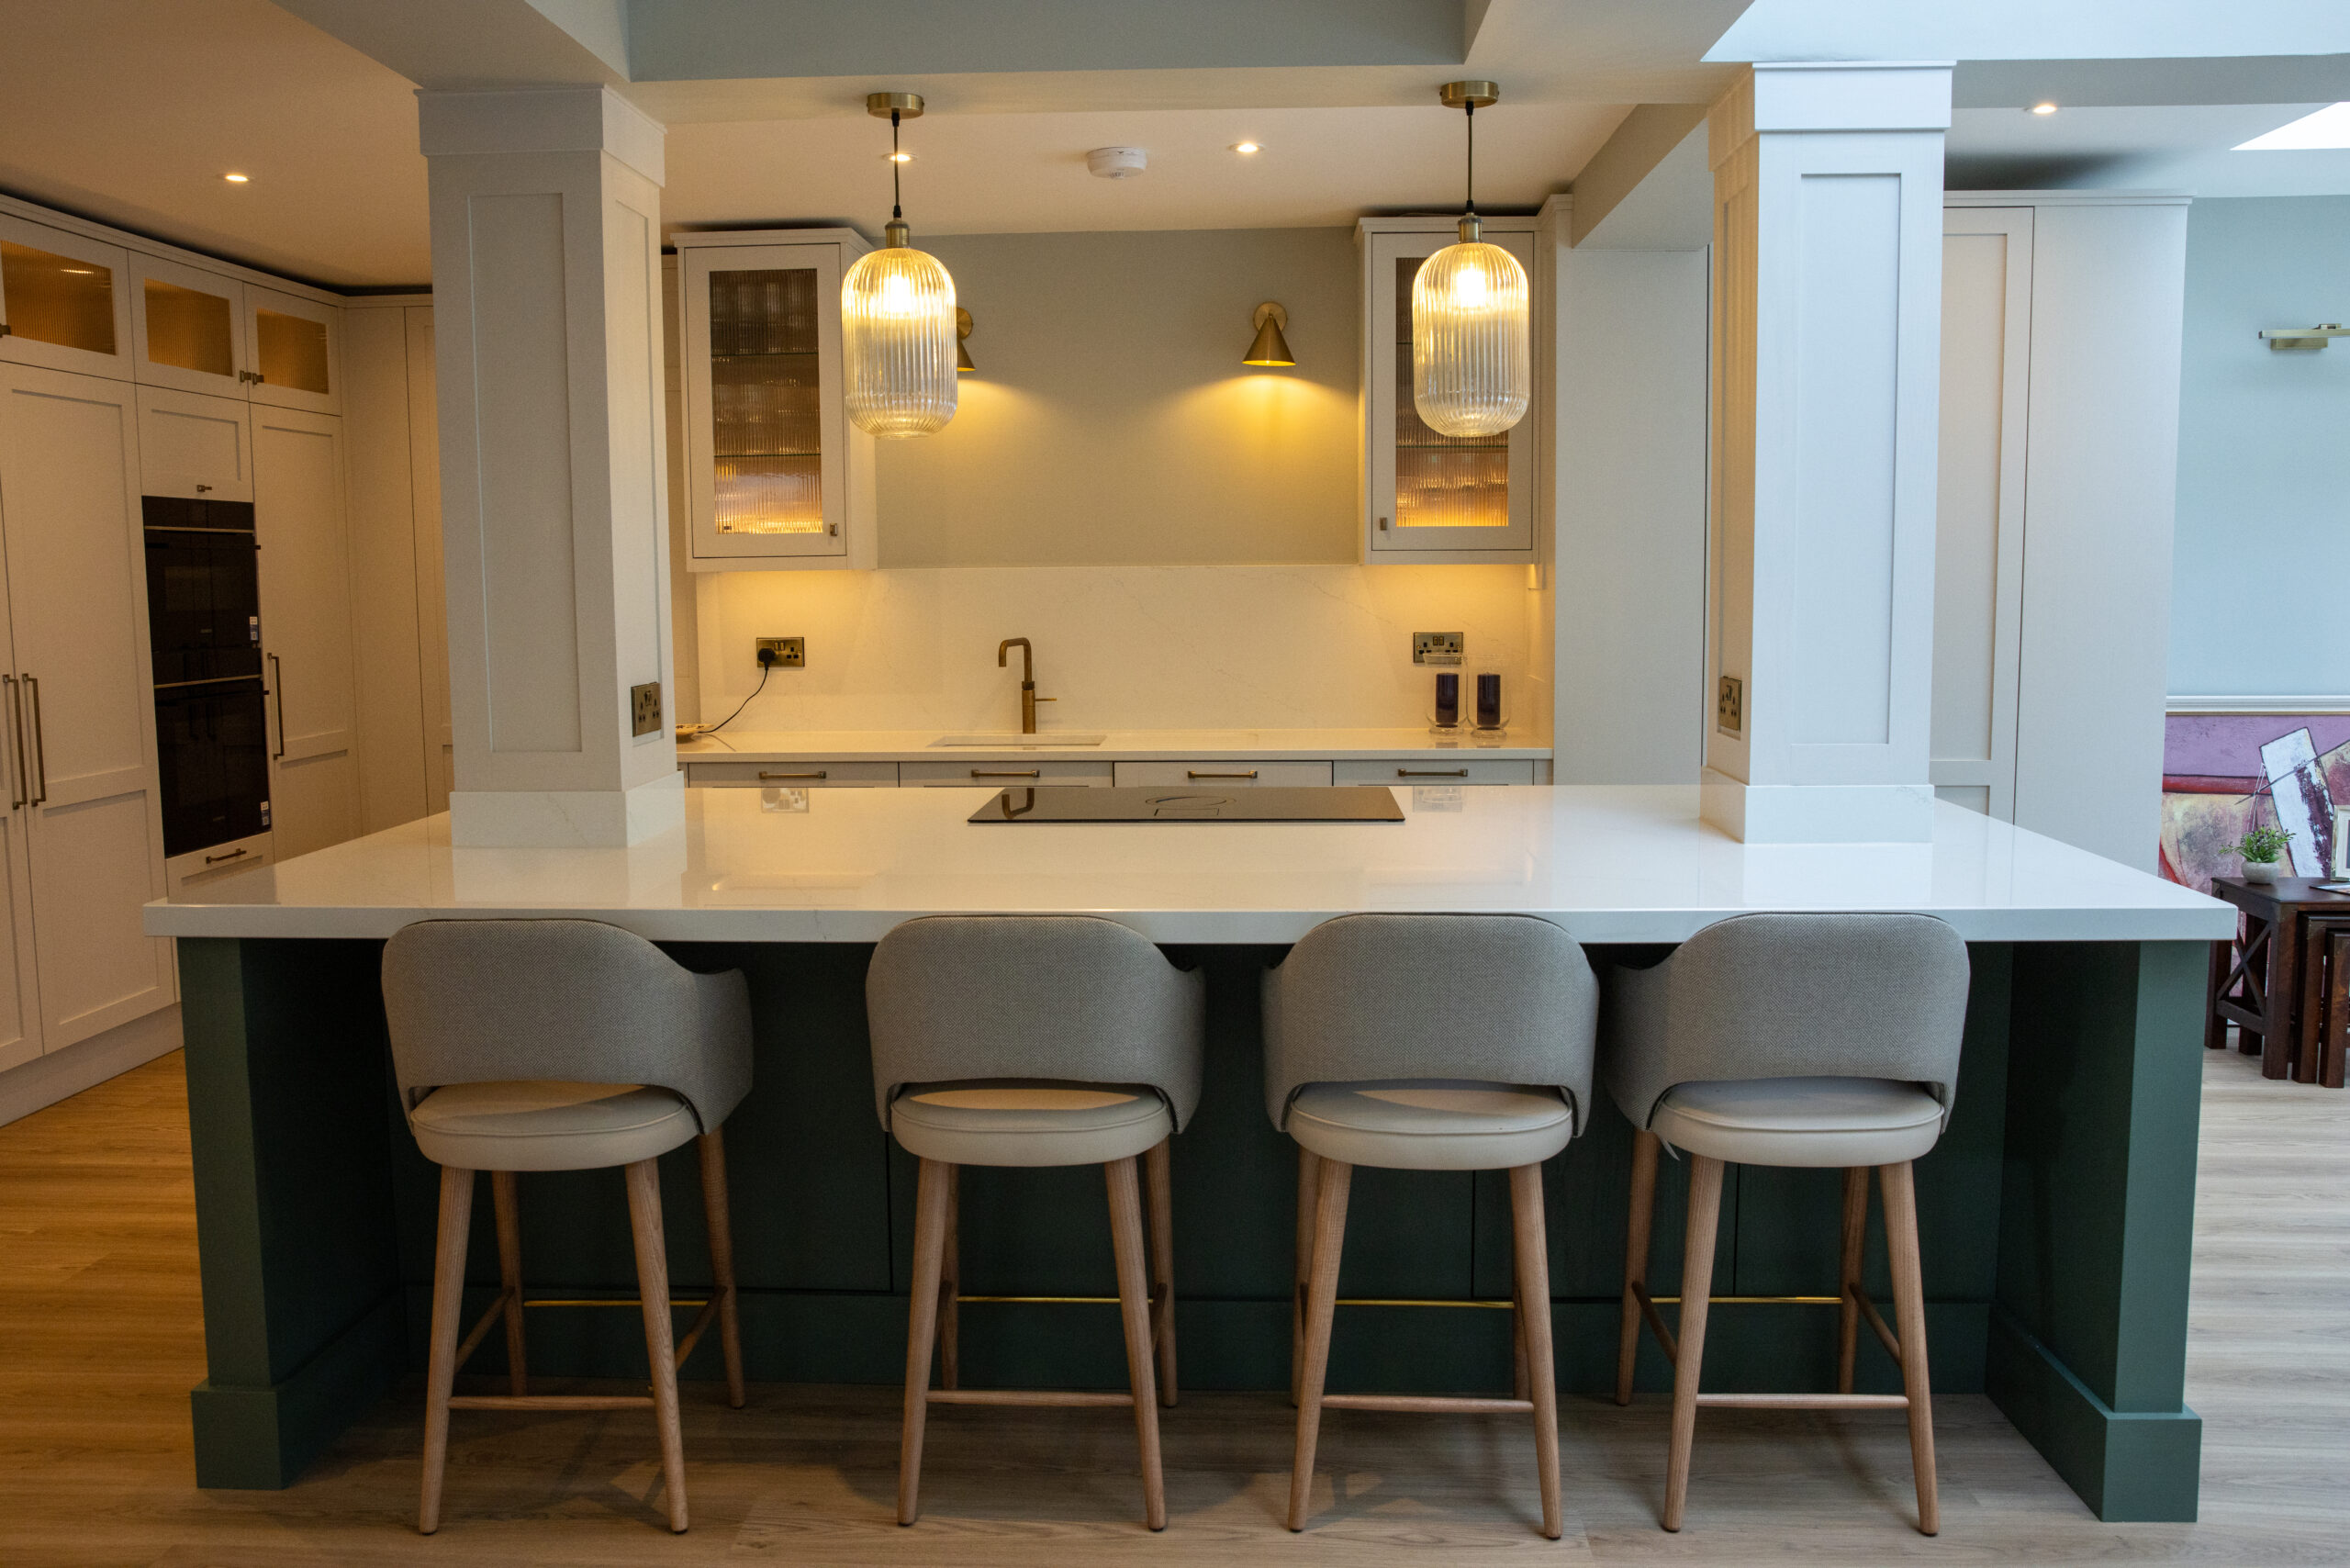
The overhang needed for comfortable seating is a simple sum once you know how many people you want seated at once. Each stool needs roughly 600 to 700mm of width along the counter edge to avoid elbows colliding, and the worktop needs to overhang the cabinet below by around 300 to 400mm for knee clearance.
For four seats side by side, that means planning for a run of at least 2,400 to 2,600mm of usable seating edge. Corner or L-shaped seating arrangements can fit more people into a shorter run, but need more careful templating around the corner joint.
Longer overhangs need proper structural support, which is covered in the section below on thickness and support. For specific edge and cut-out options, see our worktop details page.
Quick numbers
- Allow 600 to 700mm of counter width per seated guest
- Standard knee clearance overhang is 300 to 400mm
- Four seats need roughly 2,400 to 2,600mm of seating edge
- Corner seating fits more people into a shorter run
Planning step three
Single Island or Double Island
Once a kitchen is large enough, a single island can start to feel like an obstacle rather than a hub. Splitting the layout into two smaller islands, one for prep and cooking and one for seating or serving, is increasingly common in larger open-plan Irish kitchens.
The trade-off is space. A double island layout generally needs a room wide enough to keep 1,000 to 1,200mm of clearance around each island independently, so the two don't end up feeling cramped between them. In narrower kitchens, a single well-planned island with a breakfast bar overhang usually works better.
Whichever layout suits the room, both islands in a double arrangement are usually finished in the same worktop material for visual consistency. Browse suitable surfaces in our stone collections.
When to consider a double island
- Room width comfortably exceeds a single island plus clearance on both sides
- You want to separate cooking and prep from seating and serving
- The kitchen is part of a larger open-plan living and dining space
- Match the worktop material across both islands for a cohesive look
Planning step four
Worktop Thickness & Support
Thickness is a structural decision as much as an aesthetic one. Quartz and sintered stone are typically specified in 20mm or 30mm, with the thicker option better suited to longer breakfast bar overhangs and larger unsupported spans.
As a general guide, overhangs beyond roughly 300mm usually call for concealed steel brackets or hidden corbels beneath the worktop, particularly in 20mm material. Sintered stone's tensile strength allows it to span slightly further than quartz before extra support is needed, but every span is checked at templating stage rather than assumed from a general rule.
The right thickness also affects how cut-outs, drainer grooves and edge profiles look once fitted. Compare finishes and edge options in our worktop details guide.
Specification notes
- 20mm and 30mm are the standard thicknesses for quartz and sintered stone
- Overhangs beyond roughly 300mm generally need bracket or corbel support
- Sintered stone can span slightly further unsupported than quartz
- Every overhang is verified for support needs at templating, not guessed
Planning step five
Why Templating Locks the Final Size
Every measurement up to this point is a planning guide, not a final spec. Walls are rarely perfectly square, cabinets settle slightly once fitted, and appliance positions can shift during the build. That's why the final worktop size is always confirmed on site, after the cabinetry is in place, not from the original kitchen plan.
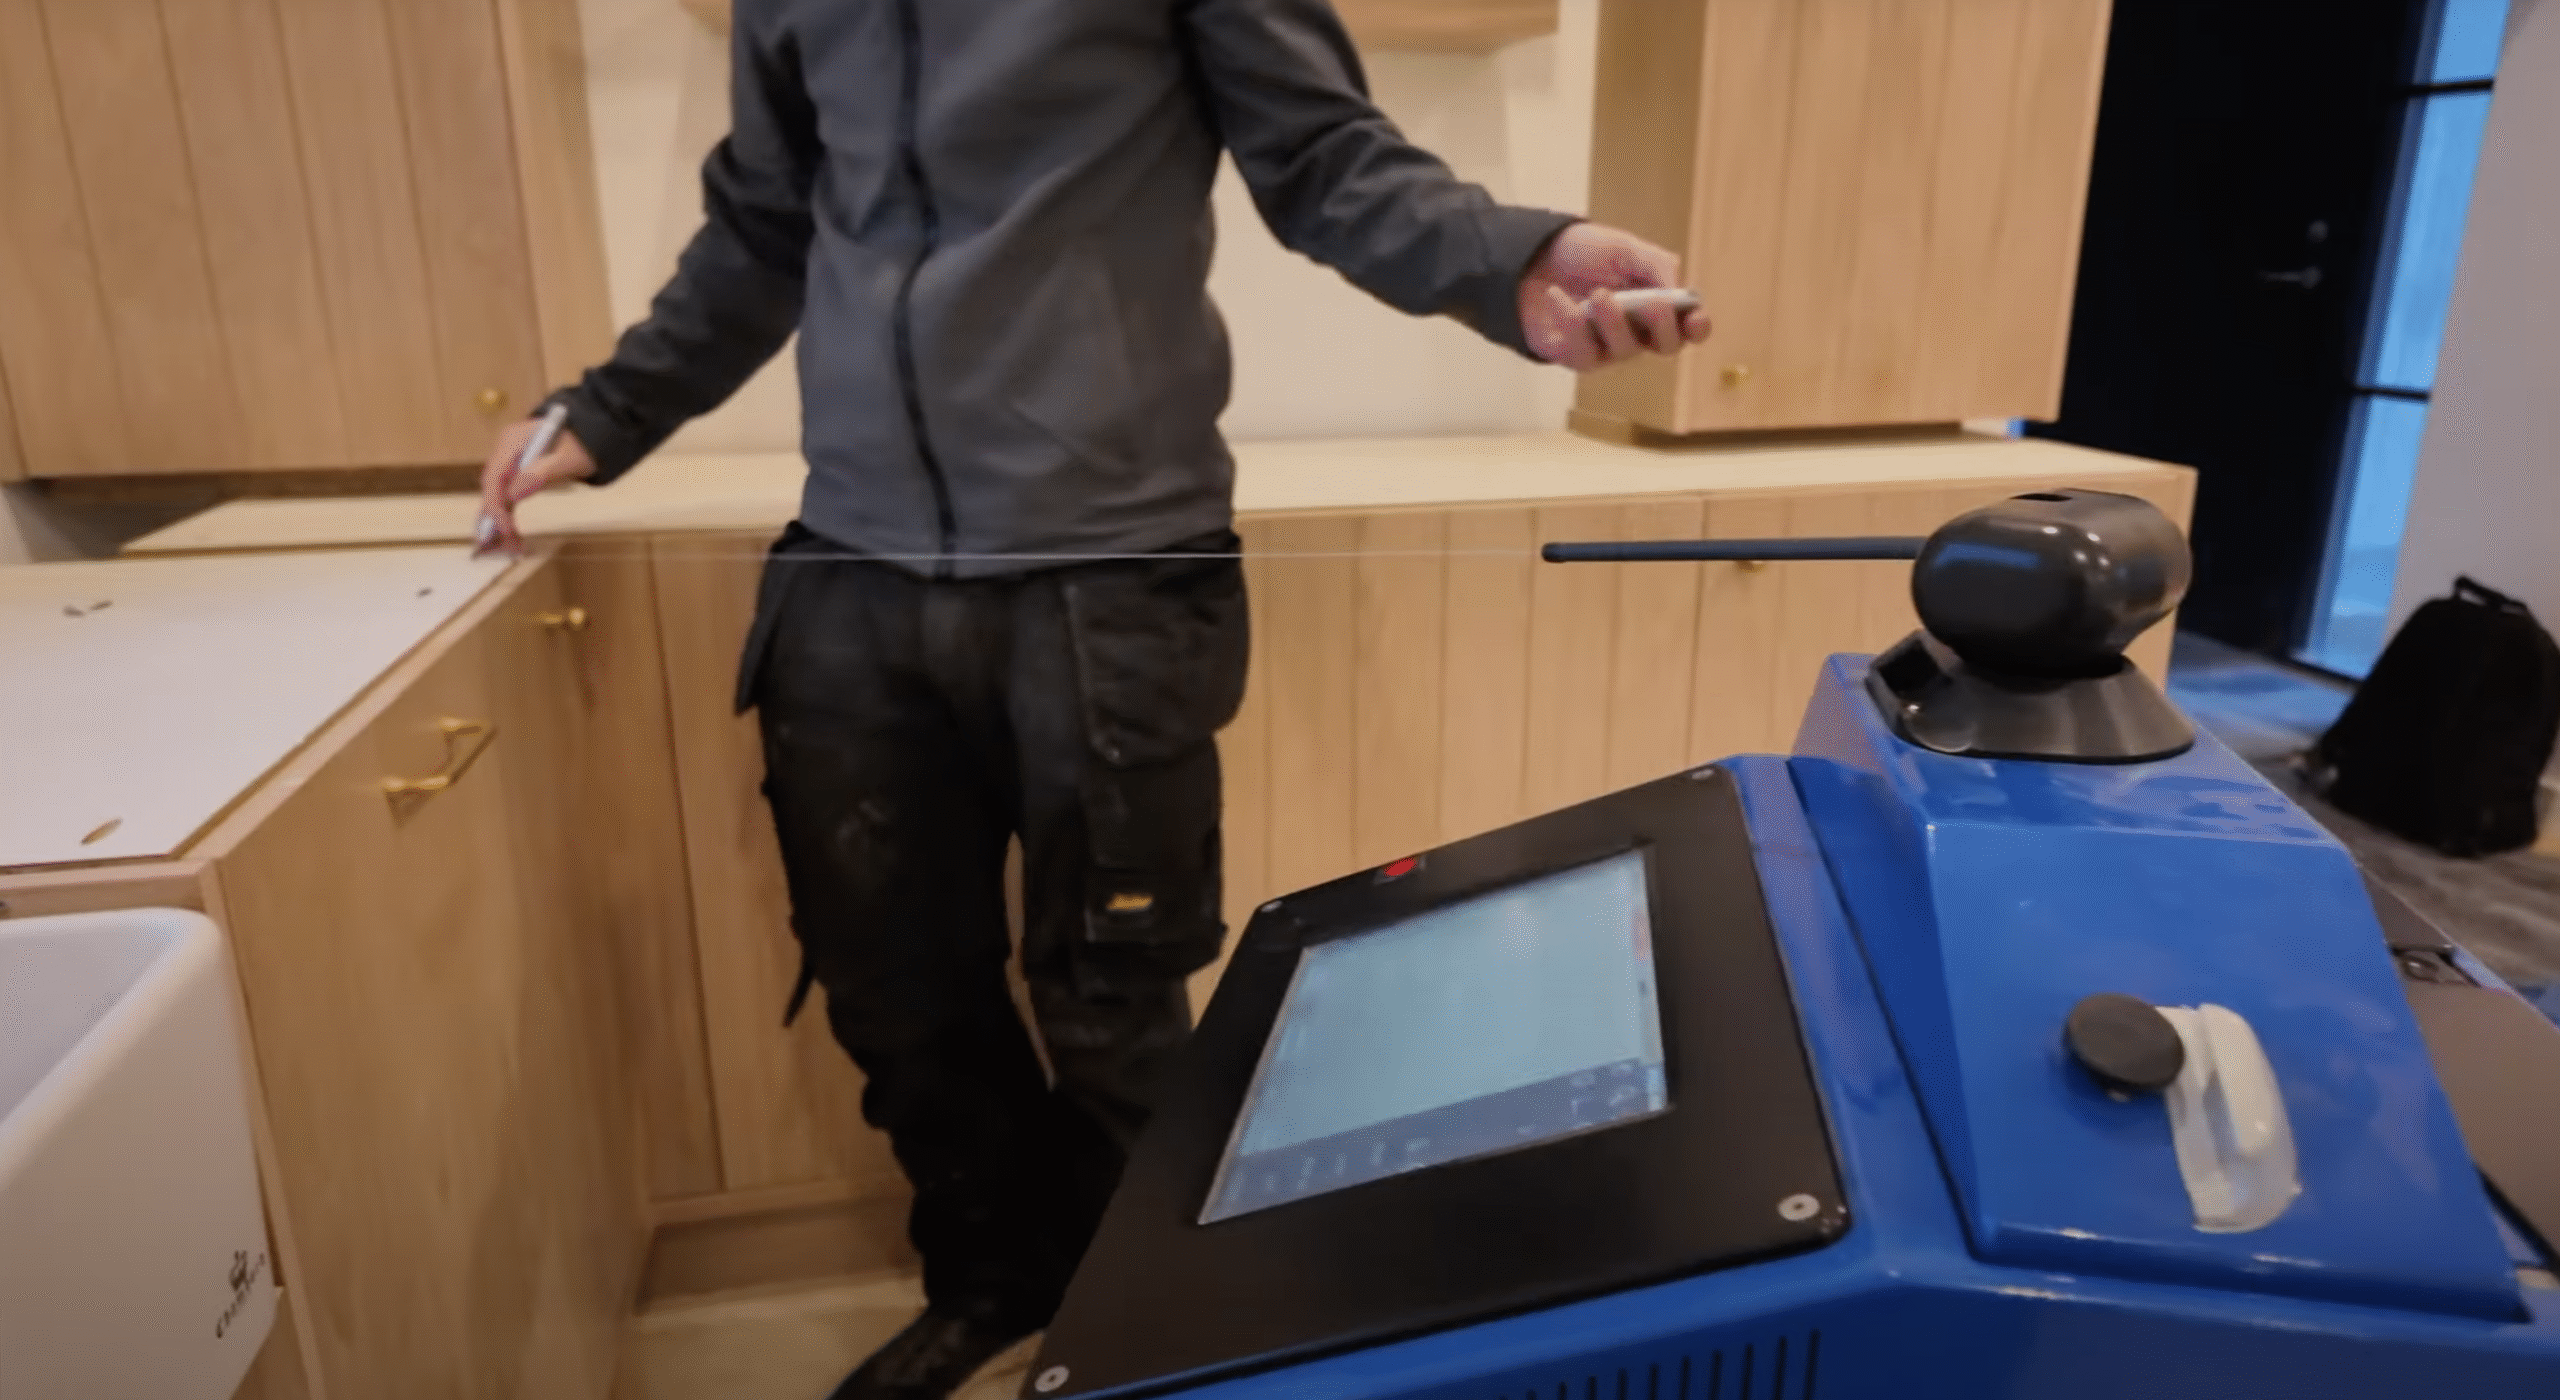
Our team uses laser templating to capture the exact shape of the installed cabinets, along with the precise position of every hob, sink, tap and socket cut-out. That template, not the architect's drawing, is what the slab is cut to.
This is also the point where overhang length, seating clearance and support brackets are checked against the real room rather than the plan. Read more about the stage in our installation process.
What happens at templating
- Laser templating captures the true shape of the fitted cabinetry
- Hob, sink, tap and socket positions are measured precisely on site
- Overhang and support needs are confirmed against the real room
- The slab is cut to the template, not the original kitchen drawing
Worktop ideas
Island Worktop Ideas for Irish Kitchens
Once the size and layout work, the worktop is where an island earns its place as the centrepiece of the room. These are the four island worktop ideas we are asked about most, each with the material and detailing choices that make it work. A breakfast bar overhang can be combined with any of them, using the seating and support figures above.
Worktop idea one
The Waterfall Edge Island
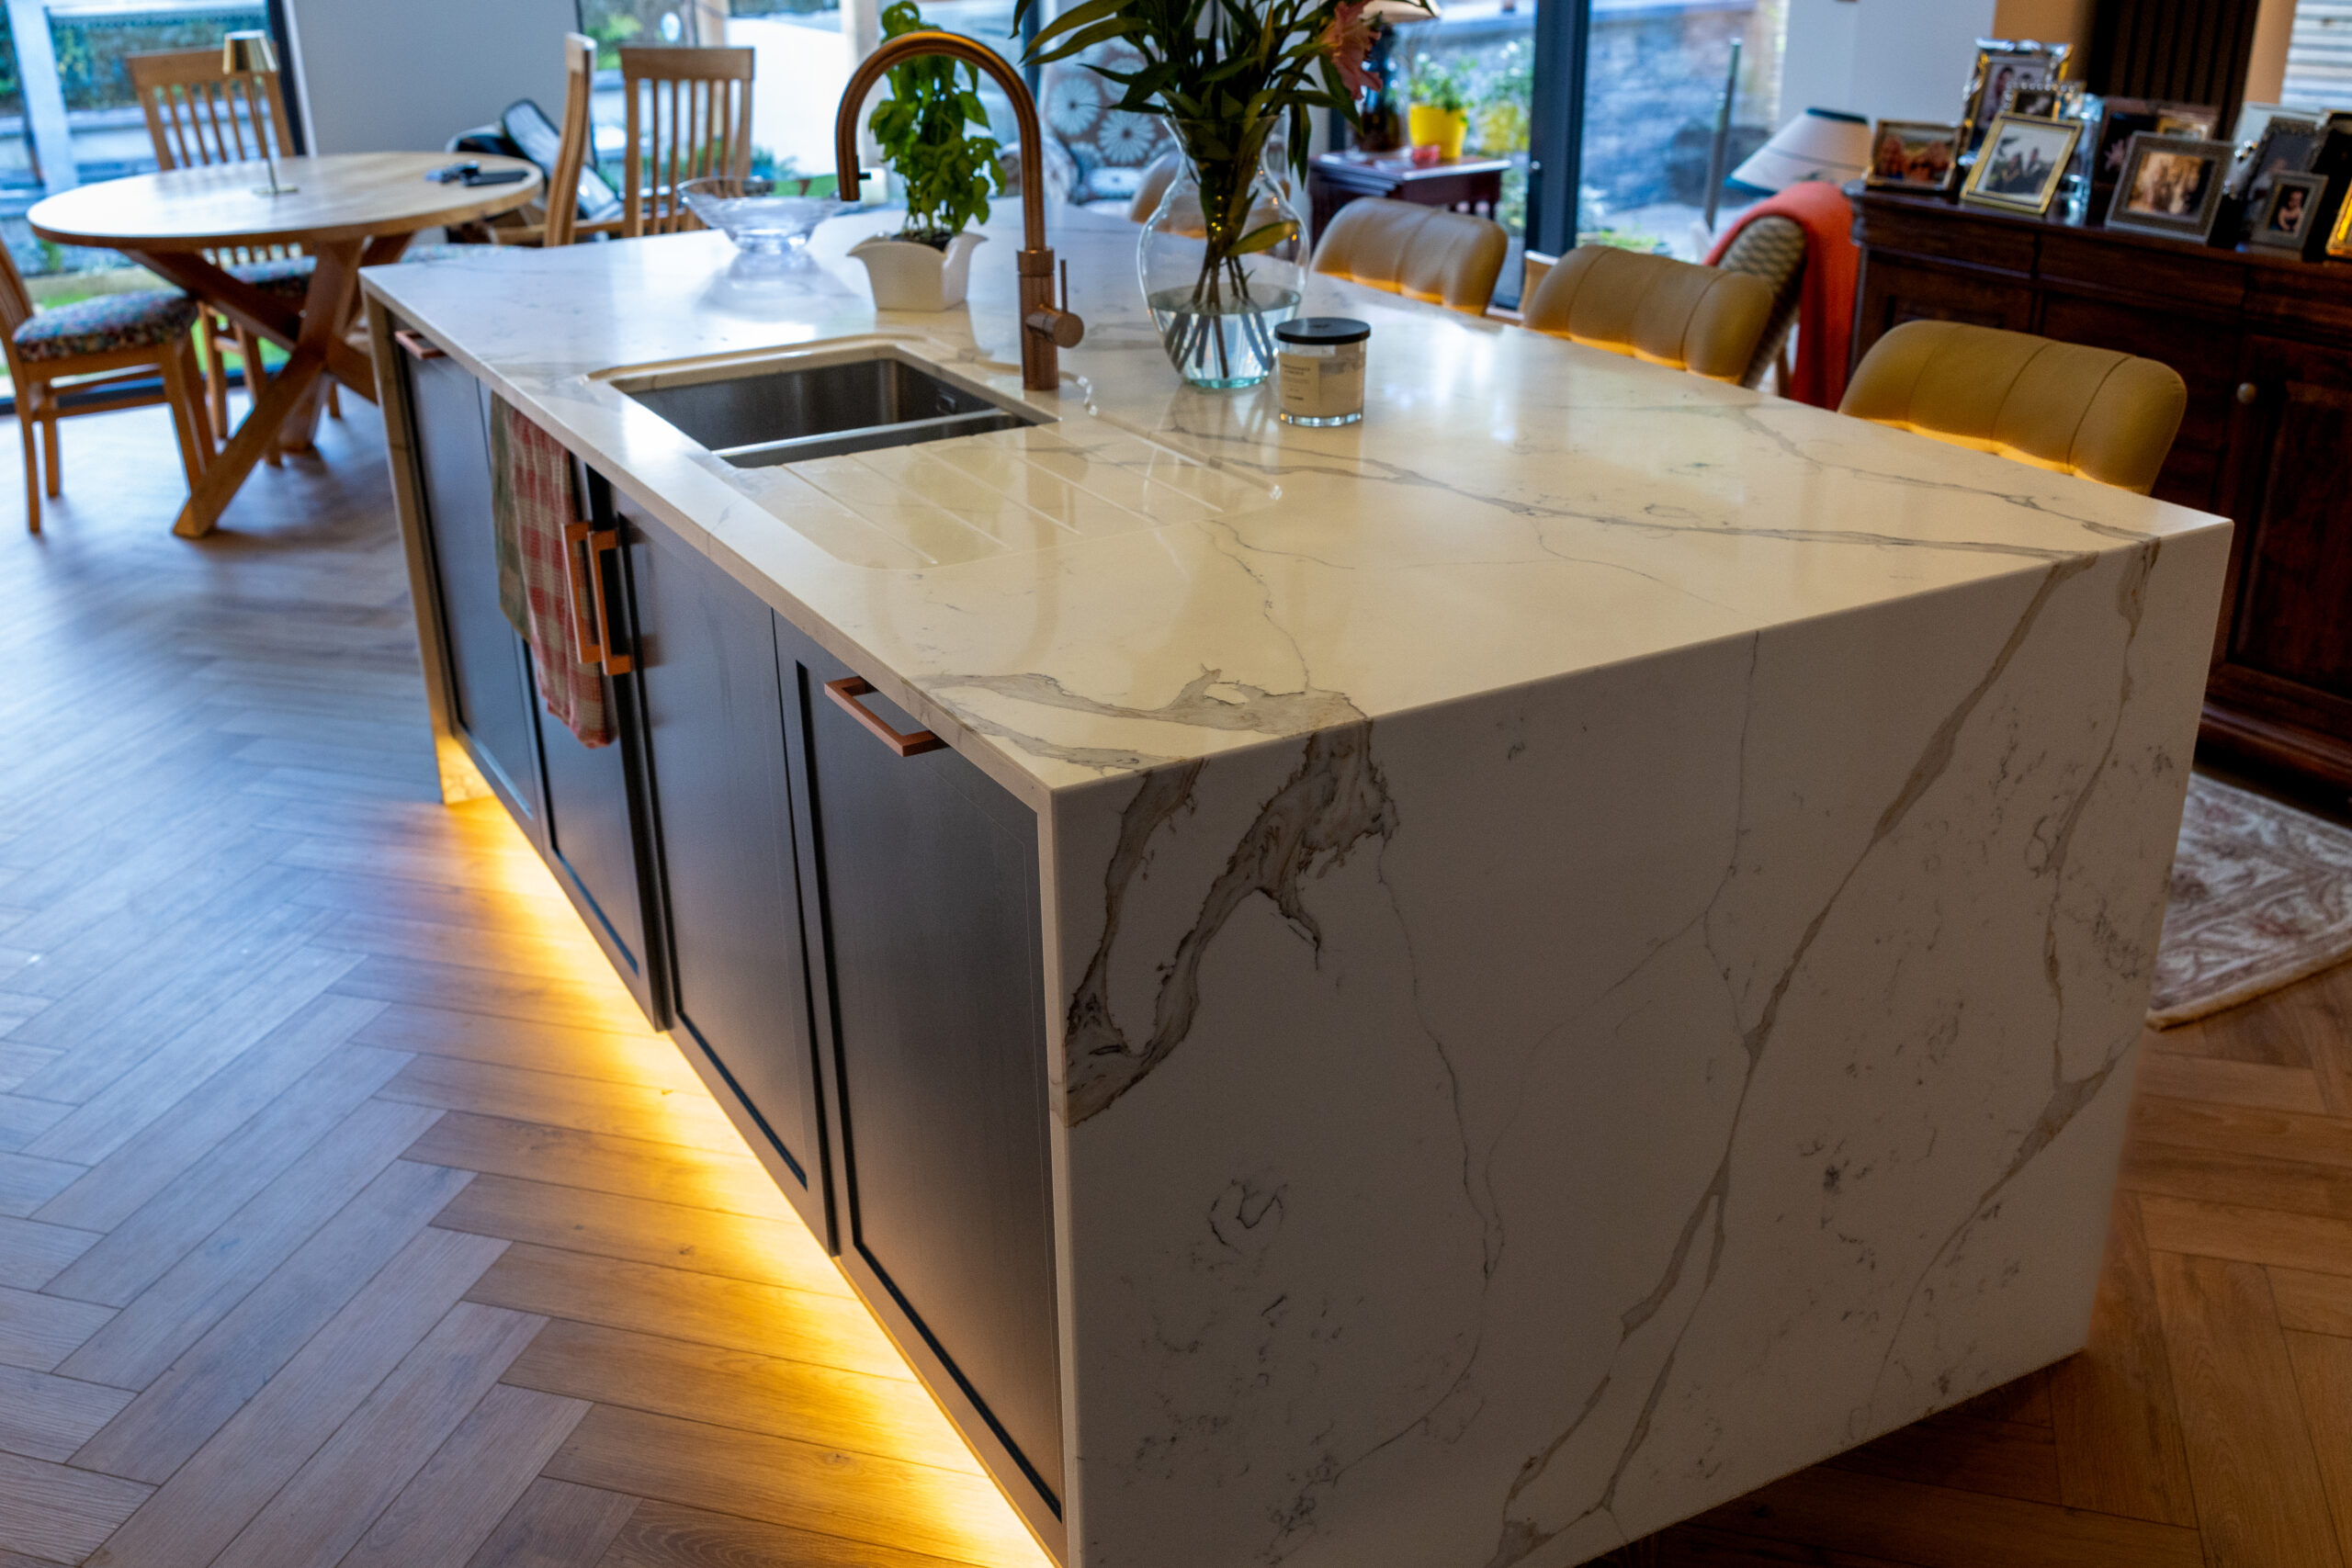
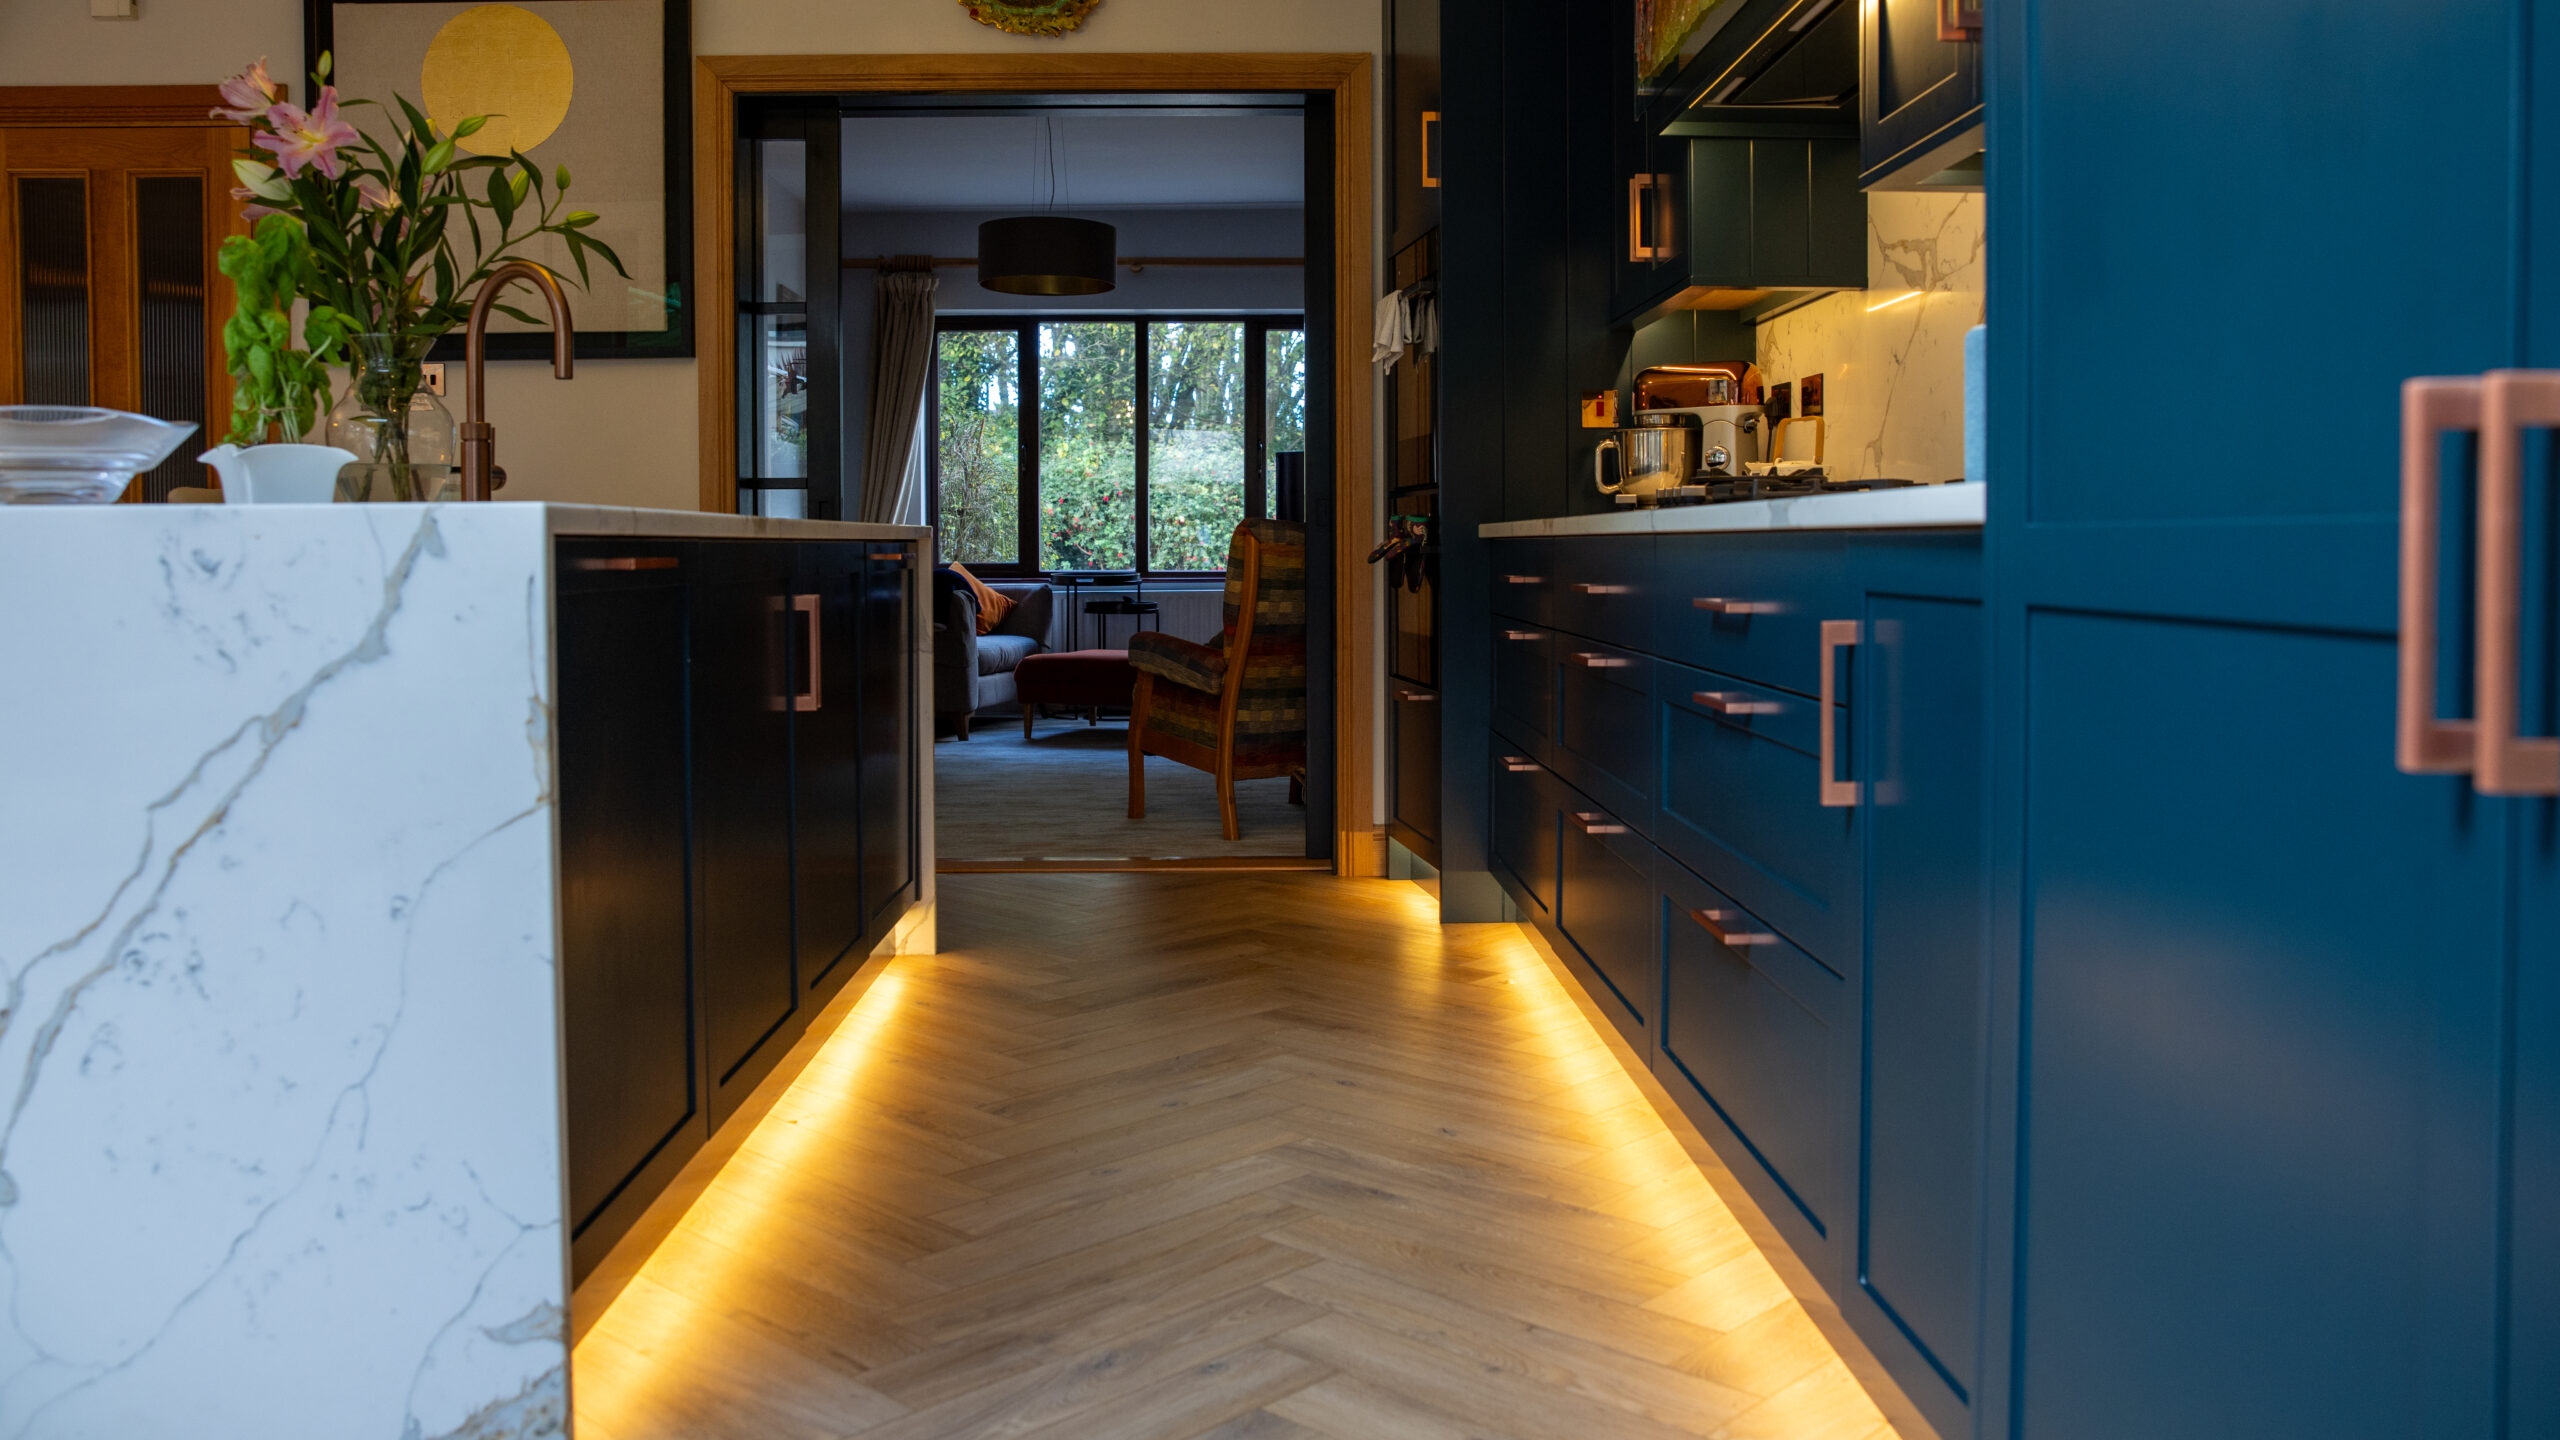
A waterfall edge is the defining detail of contemporary island design. The worktop continues vertically down one or both ends of the island, creating an uninterrupted sculptural form rather than a separate top and base.
The effect is most striking with materials that carry strong veining or movement, such as Calacatta-style quartz, marble or large-format porcelain. A bookmatched mitre join at the corner allows the pattern to flow seamlessly from horizontal to vertical, producing the look of a single carved block of stone.
Waterfall edges work particularly well in open-plan kitchens, where the island is visible from living and dining areas. See real installations across Irish homes in our completed projects gallery, and explore suitable surfaces in our stone collections.
Best suited to
- Open-plan kitchens where the island is a visible focal point
- Contemporary, minimalist and architectural design schemes
- Stones with strong veining, movement or bookmatching potential
- Larger islands where the proportion can carry the statement
- Homeowners seeking a single dramatic feature in the kitchen
Worktop idea two
The Veined Marble Look Island
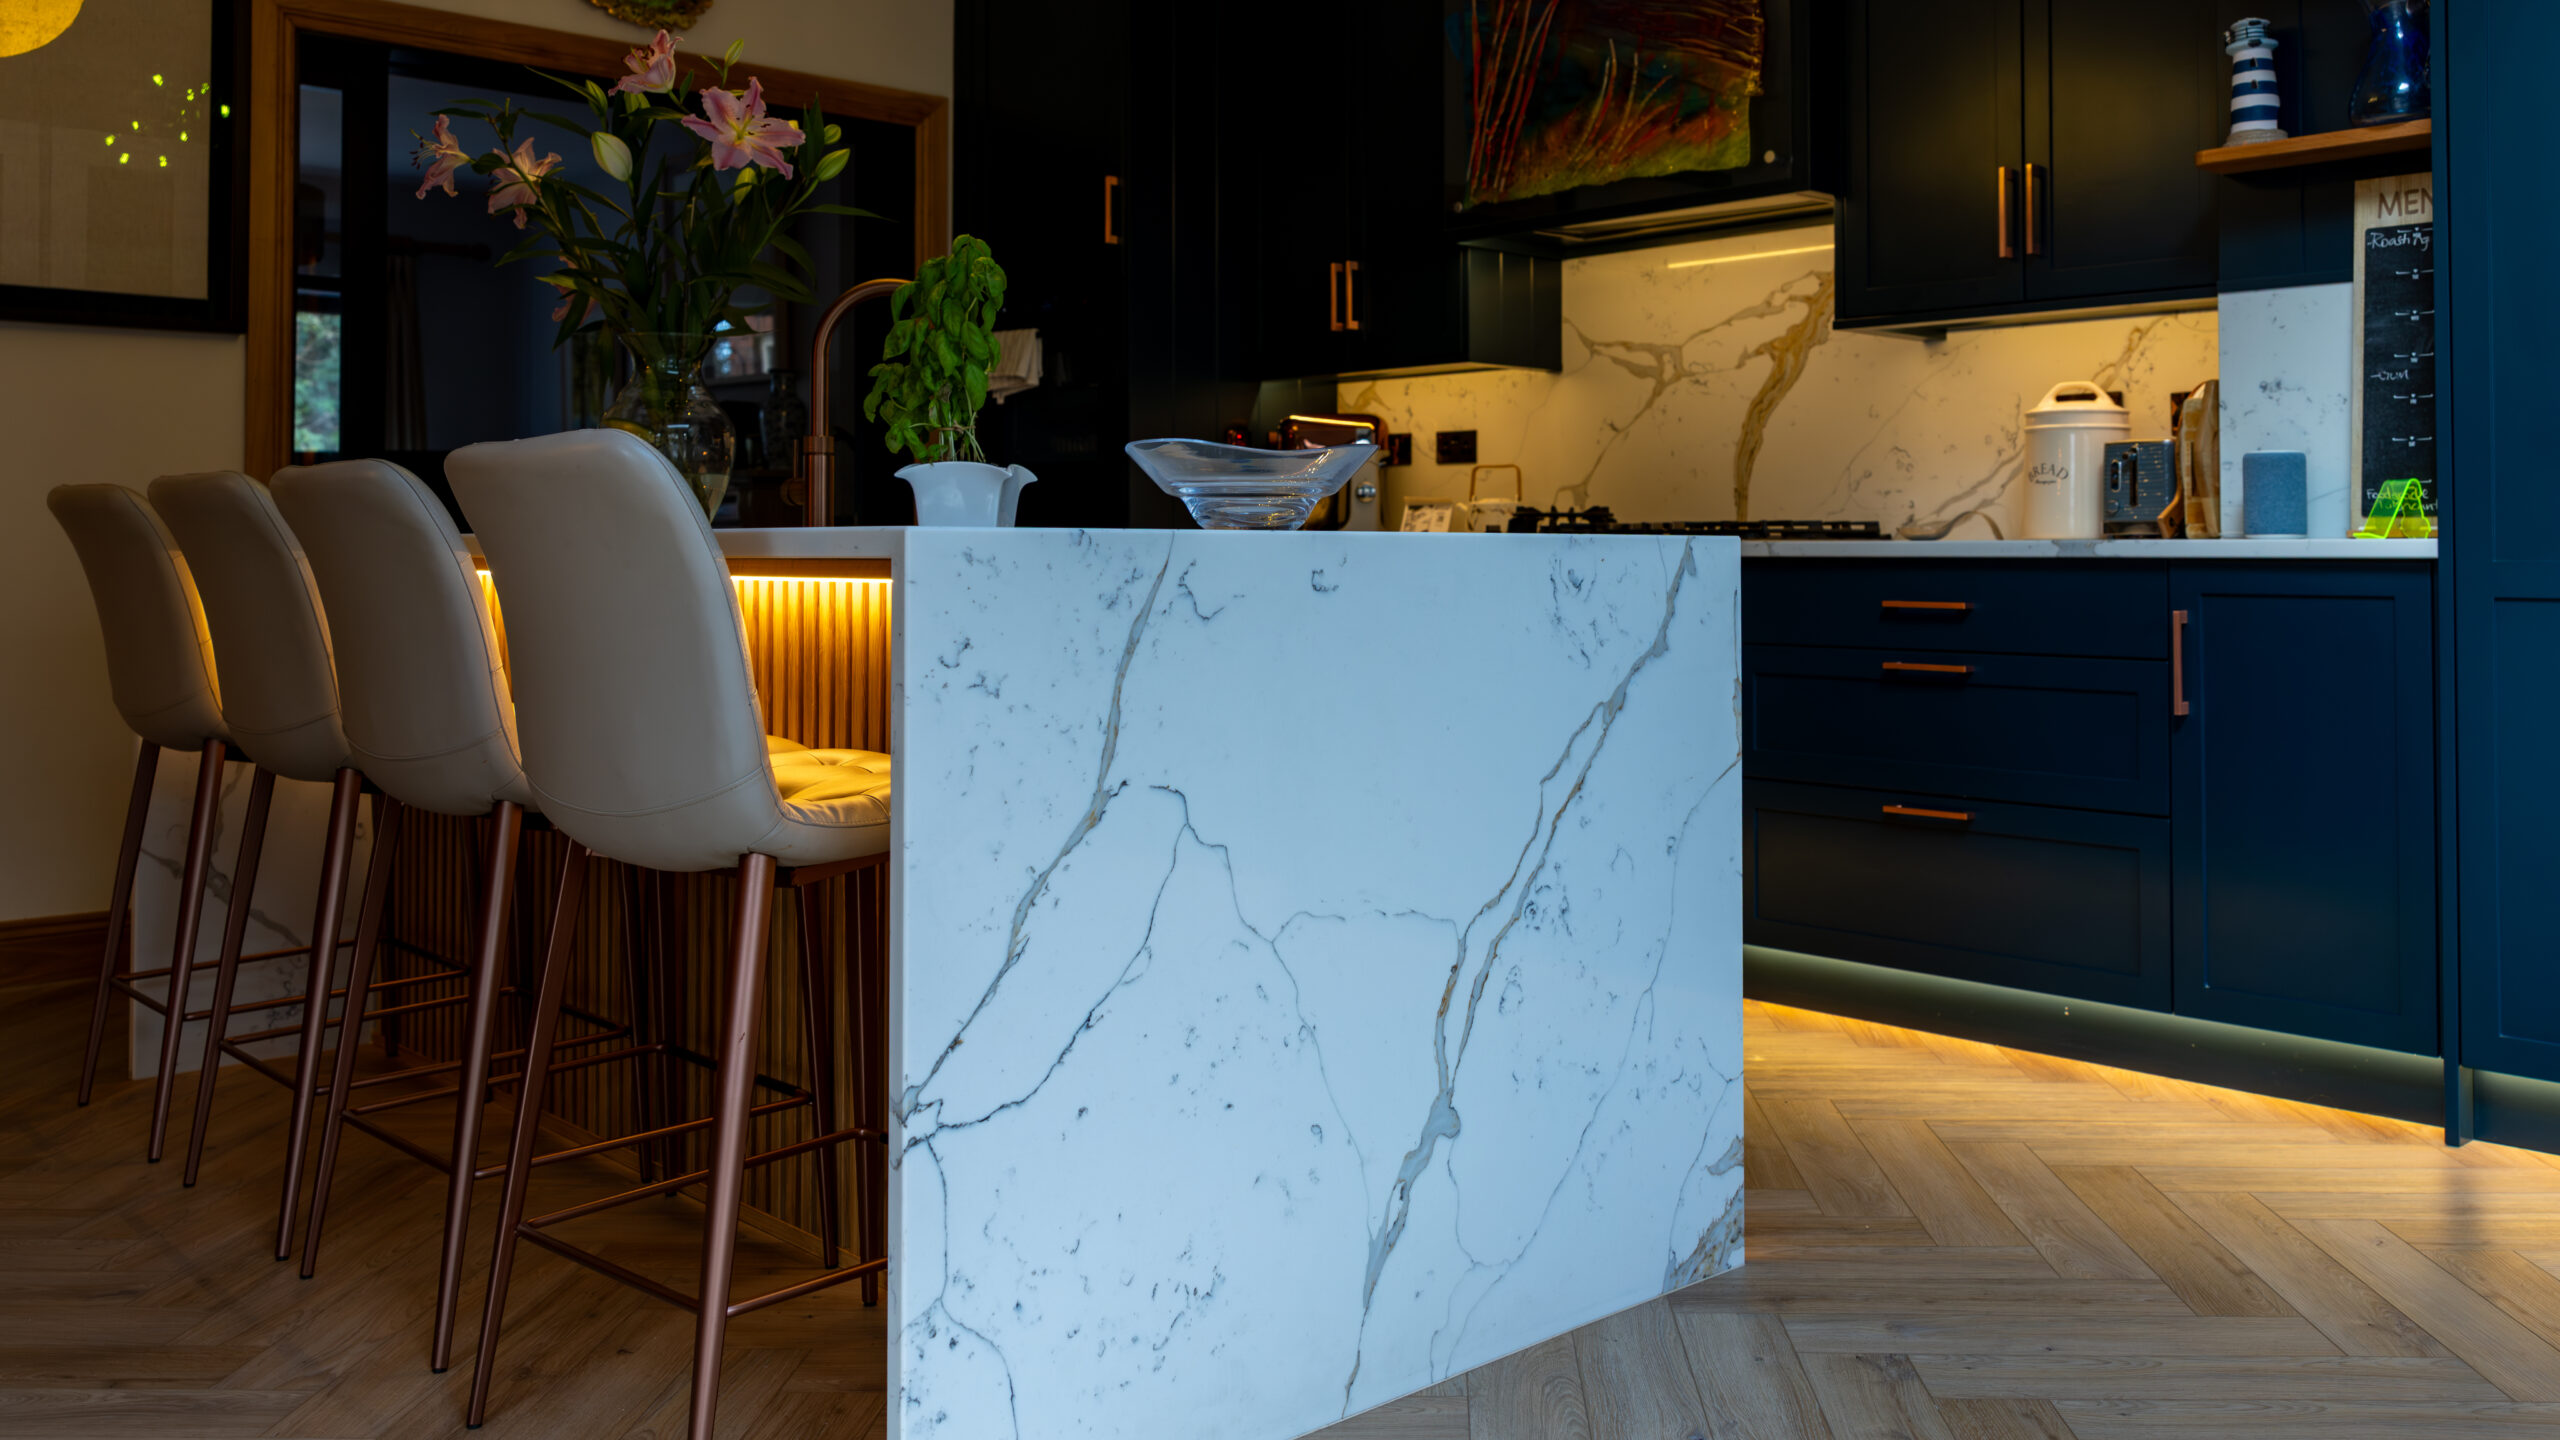
Marble-effect quartz remains one of the most requested choices for kitchen islands across Ireland. The combination of a clean white base with grey or gold veining delivers a luxurious, timeless finish without the maintenance demands of natural marble.
Engineered surfaces such as Calacatta Supreme, Carrara Gold and Silestone Eternal Calacatta Gold offer the visual drama of true marble in a non-porous, low-maintenance format. The veining is consistent across slabs, which makes large islands and continuous splashbacks far easier to specify.
Pair a veined white island with deep cabinetry in navy, forest green or warm walnut for a contemporary, considered scheme. Browse marble-effect options in our stone collections, or explore detailing choices in our worktop details guide.
Why it works
- Delivers the visual drama of marble without the maintenance demands
- Non-porous, stain resistant and entirely sealing-free
- Consistent veining across slabs for large islands and splashbacks
- Pairs beautifully with navy, green or walnut base cabinetry
- Available in subtle to dramatic veining styles for any scheme
Worktop idea three
The Contrasting Colour Island
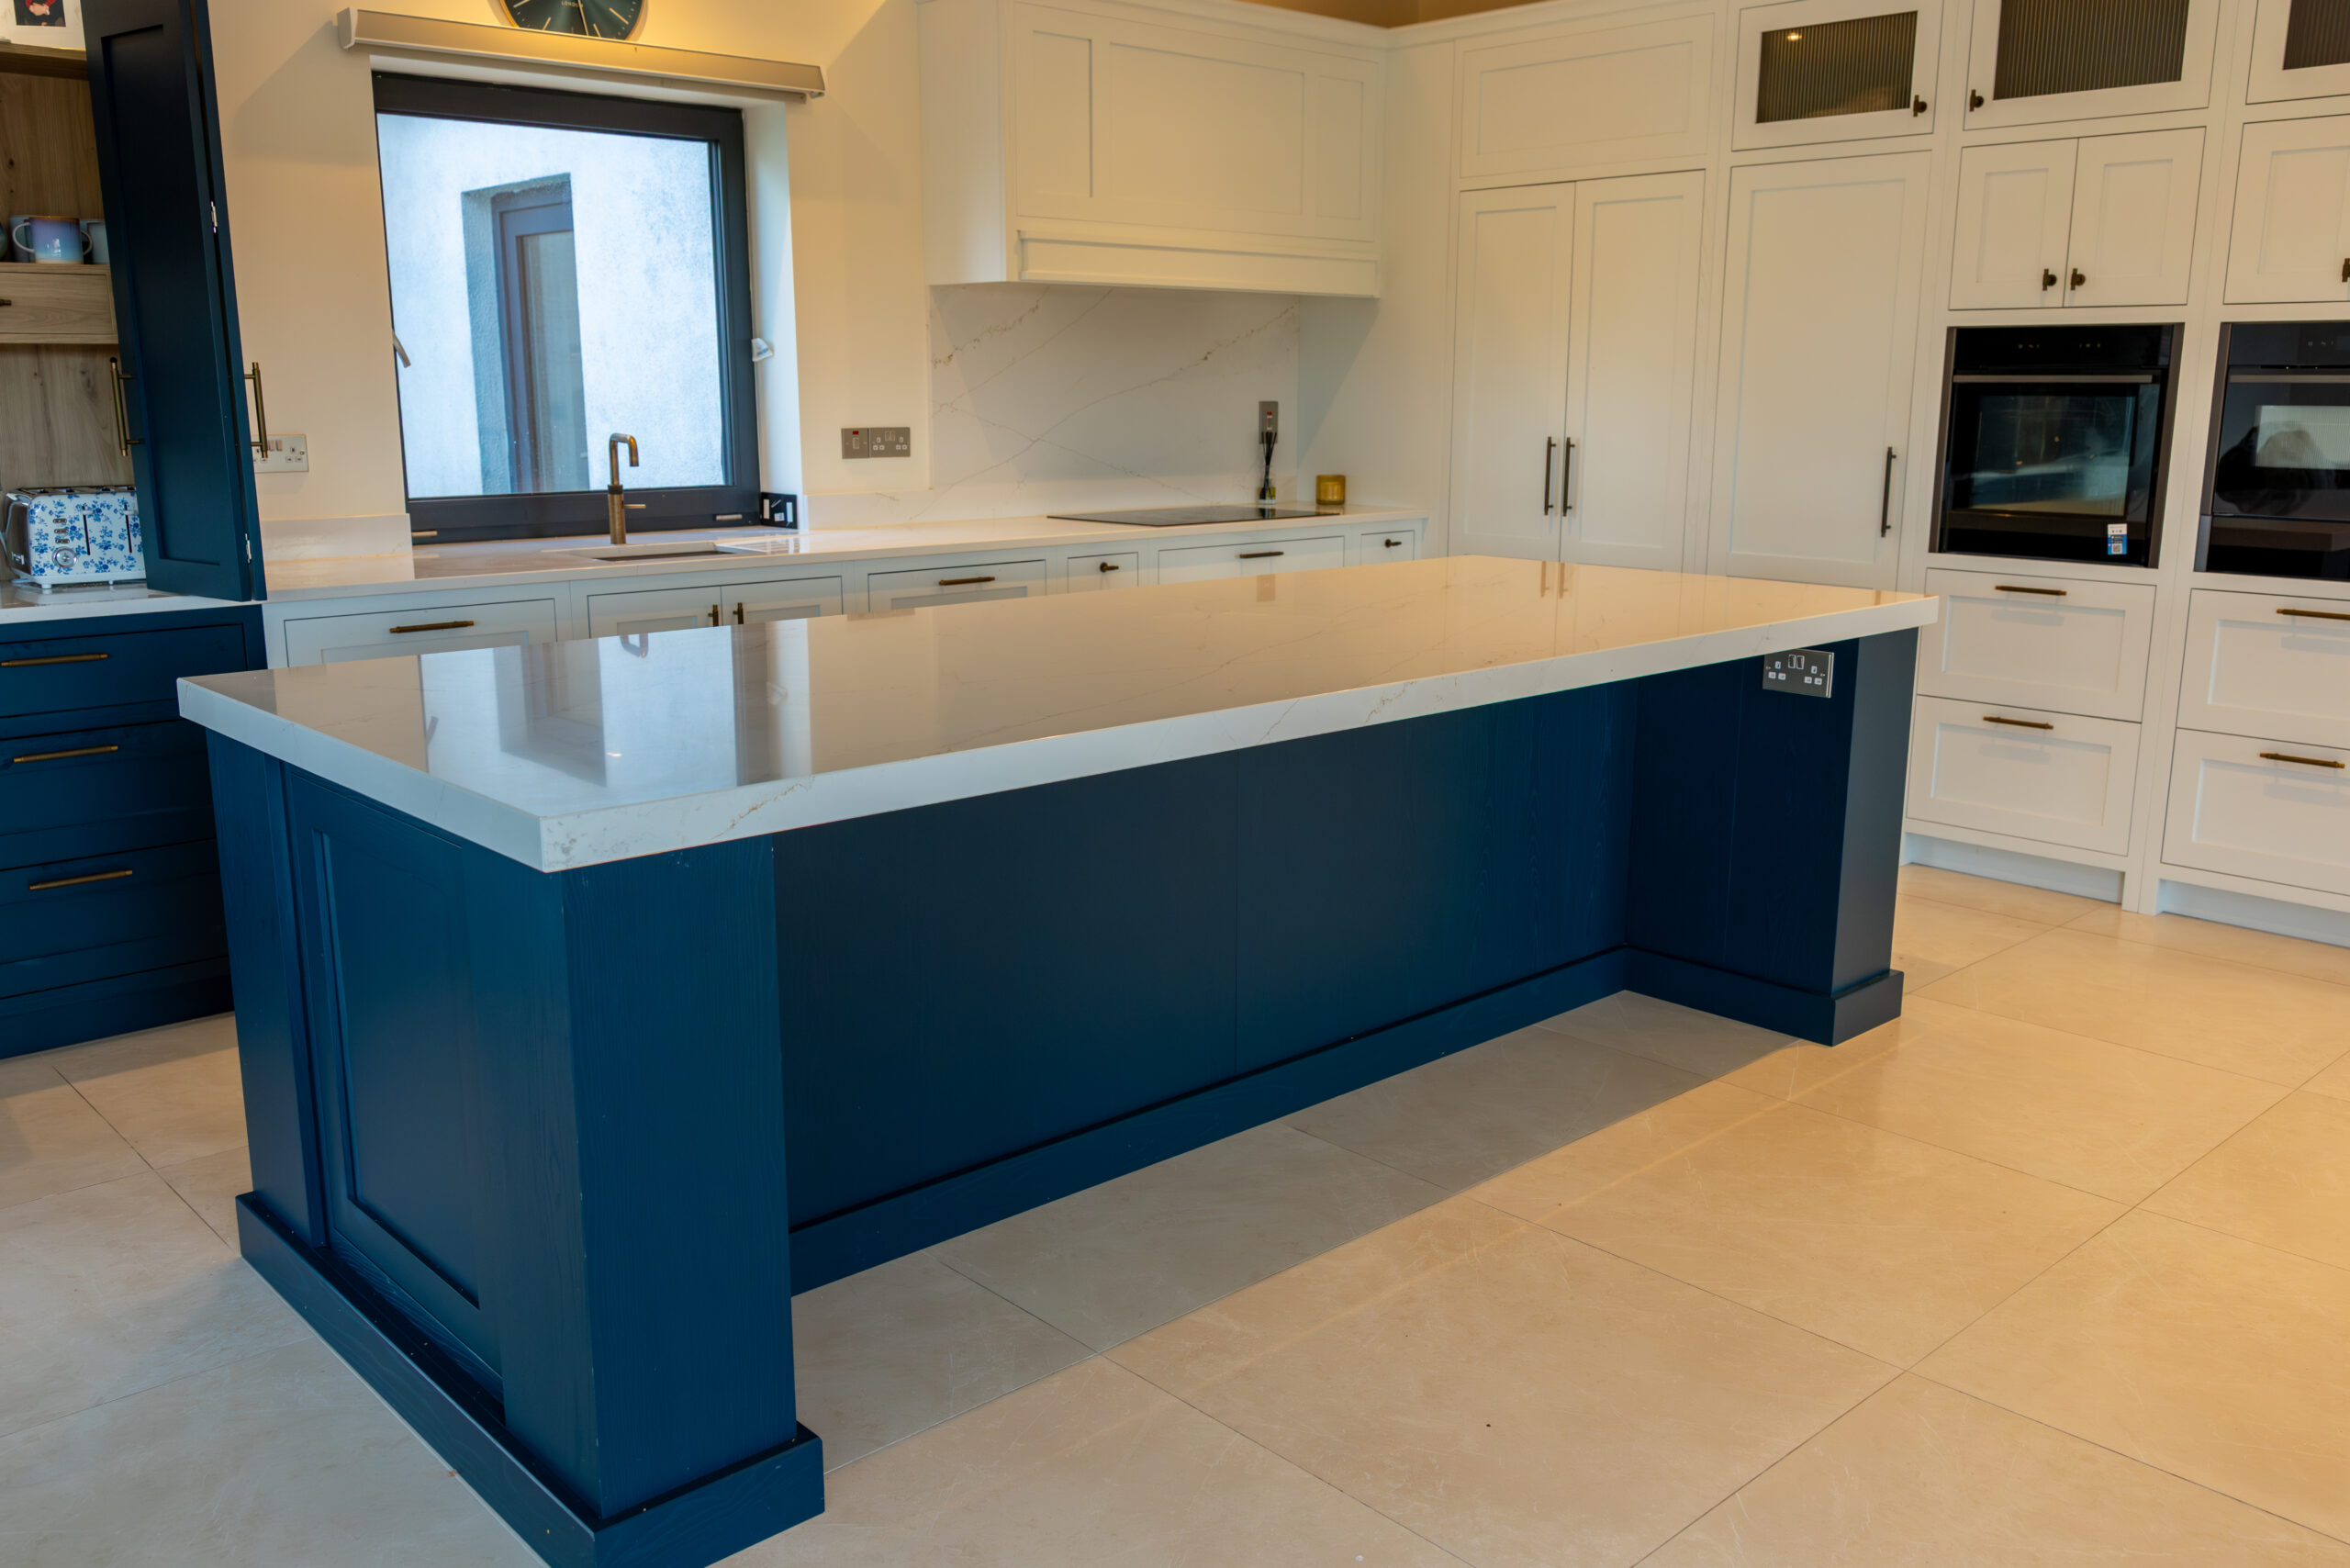
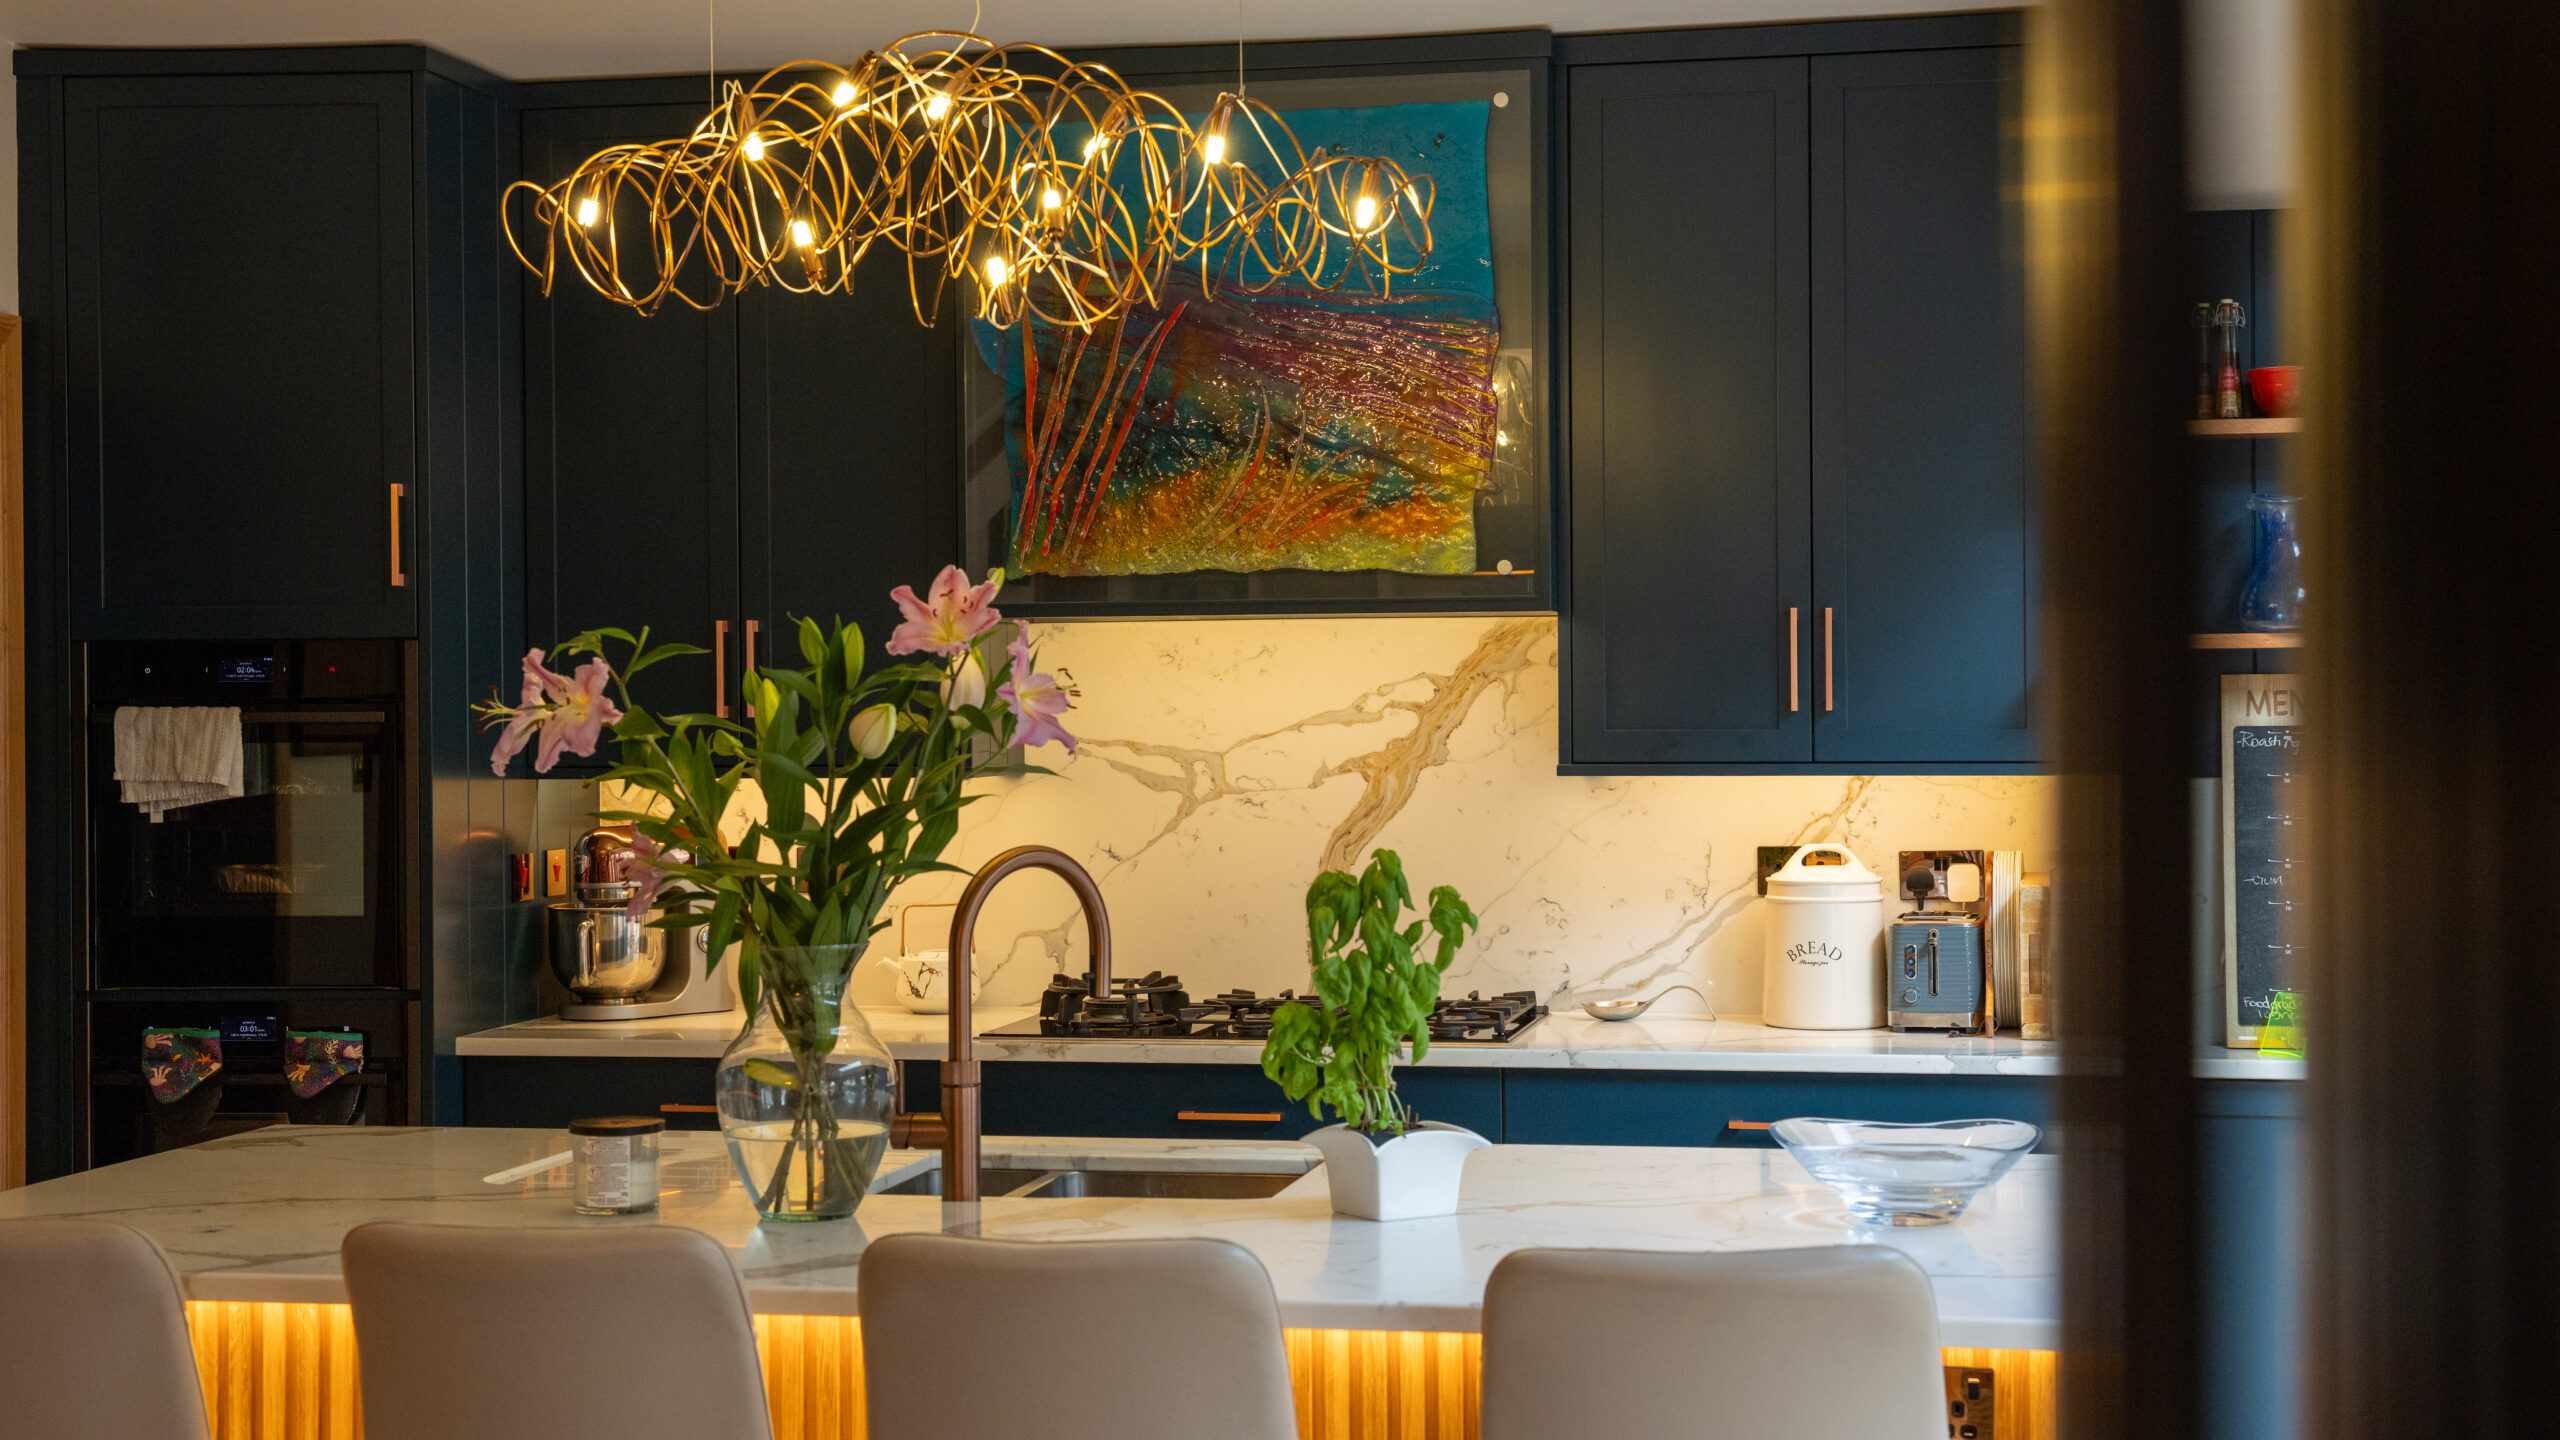
A two-tone scheme uses the island to introduce a contrasting colour or material, creating definition in larger kitchens. The perimeter cabinetry stays calm and neutral, while the island carries a deeper, more architectural palette.
Popular pairings in Irish kitchens include white perimeter units with deep teal, forest green or navy islands, all finished with a clean white quartz worktop. The worktop acts as the visual bridge between the two cabinet finishes, tying the scheme together rather than dividing it.
The contrast approach is particularly effective in open-plan layouts, where the island faces living and dining spaces. See completed two-tone projects across Galway and beyond in our project gallery.
Design principles
- Keep perimeter cabinetry neutral and let the island carry the colour
- Use a single worktop material across both runs for visual cohesion
- Navy, teal, forest green and warm walnut all work beautifully
- White or veined quartz works as a bridge between two finishes
- Ideal for larger open-plan kitchens visible from living spaces
Worktop idea four
The Integrated Hob & Sink Island
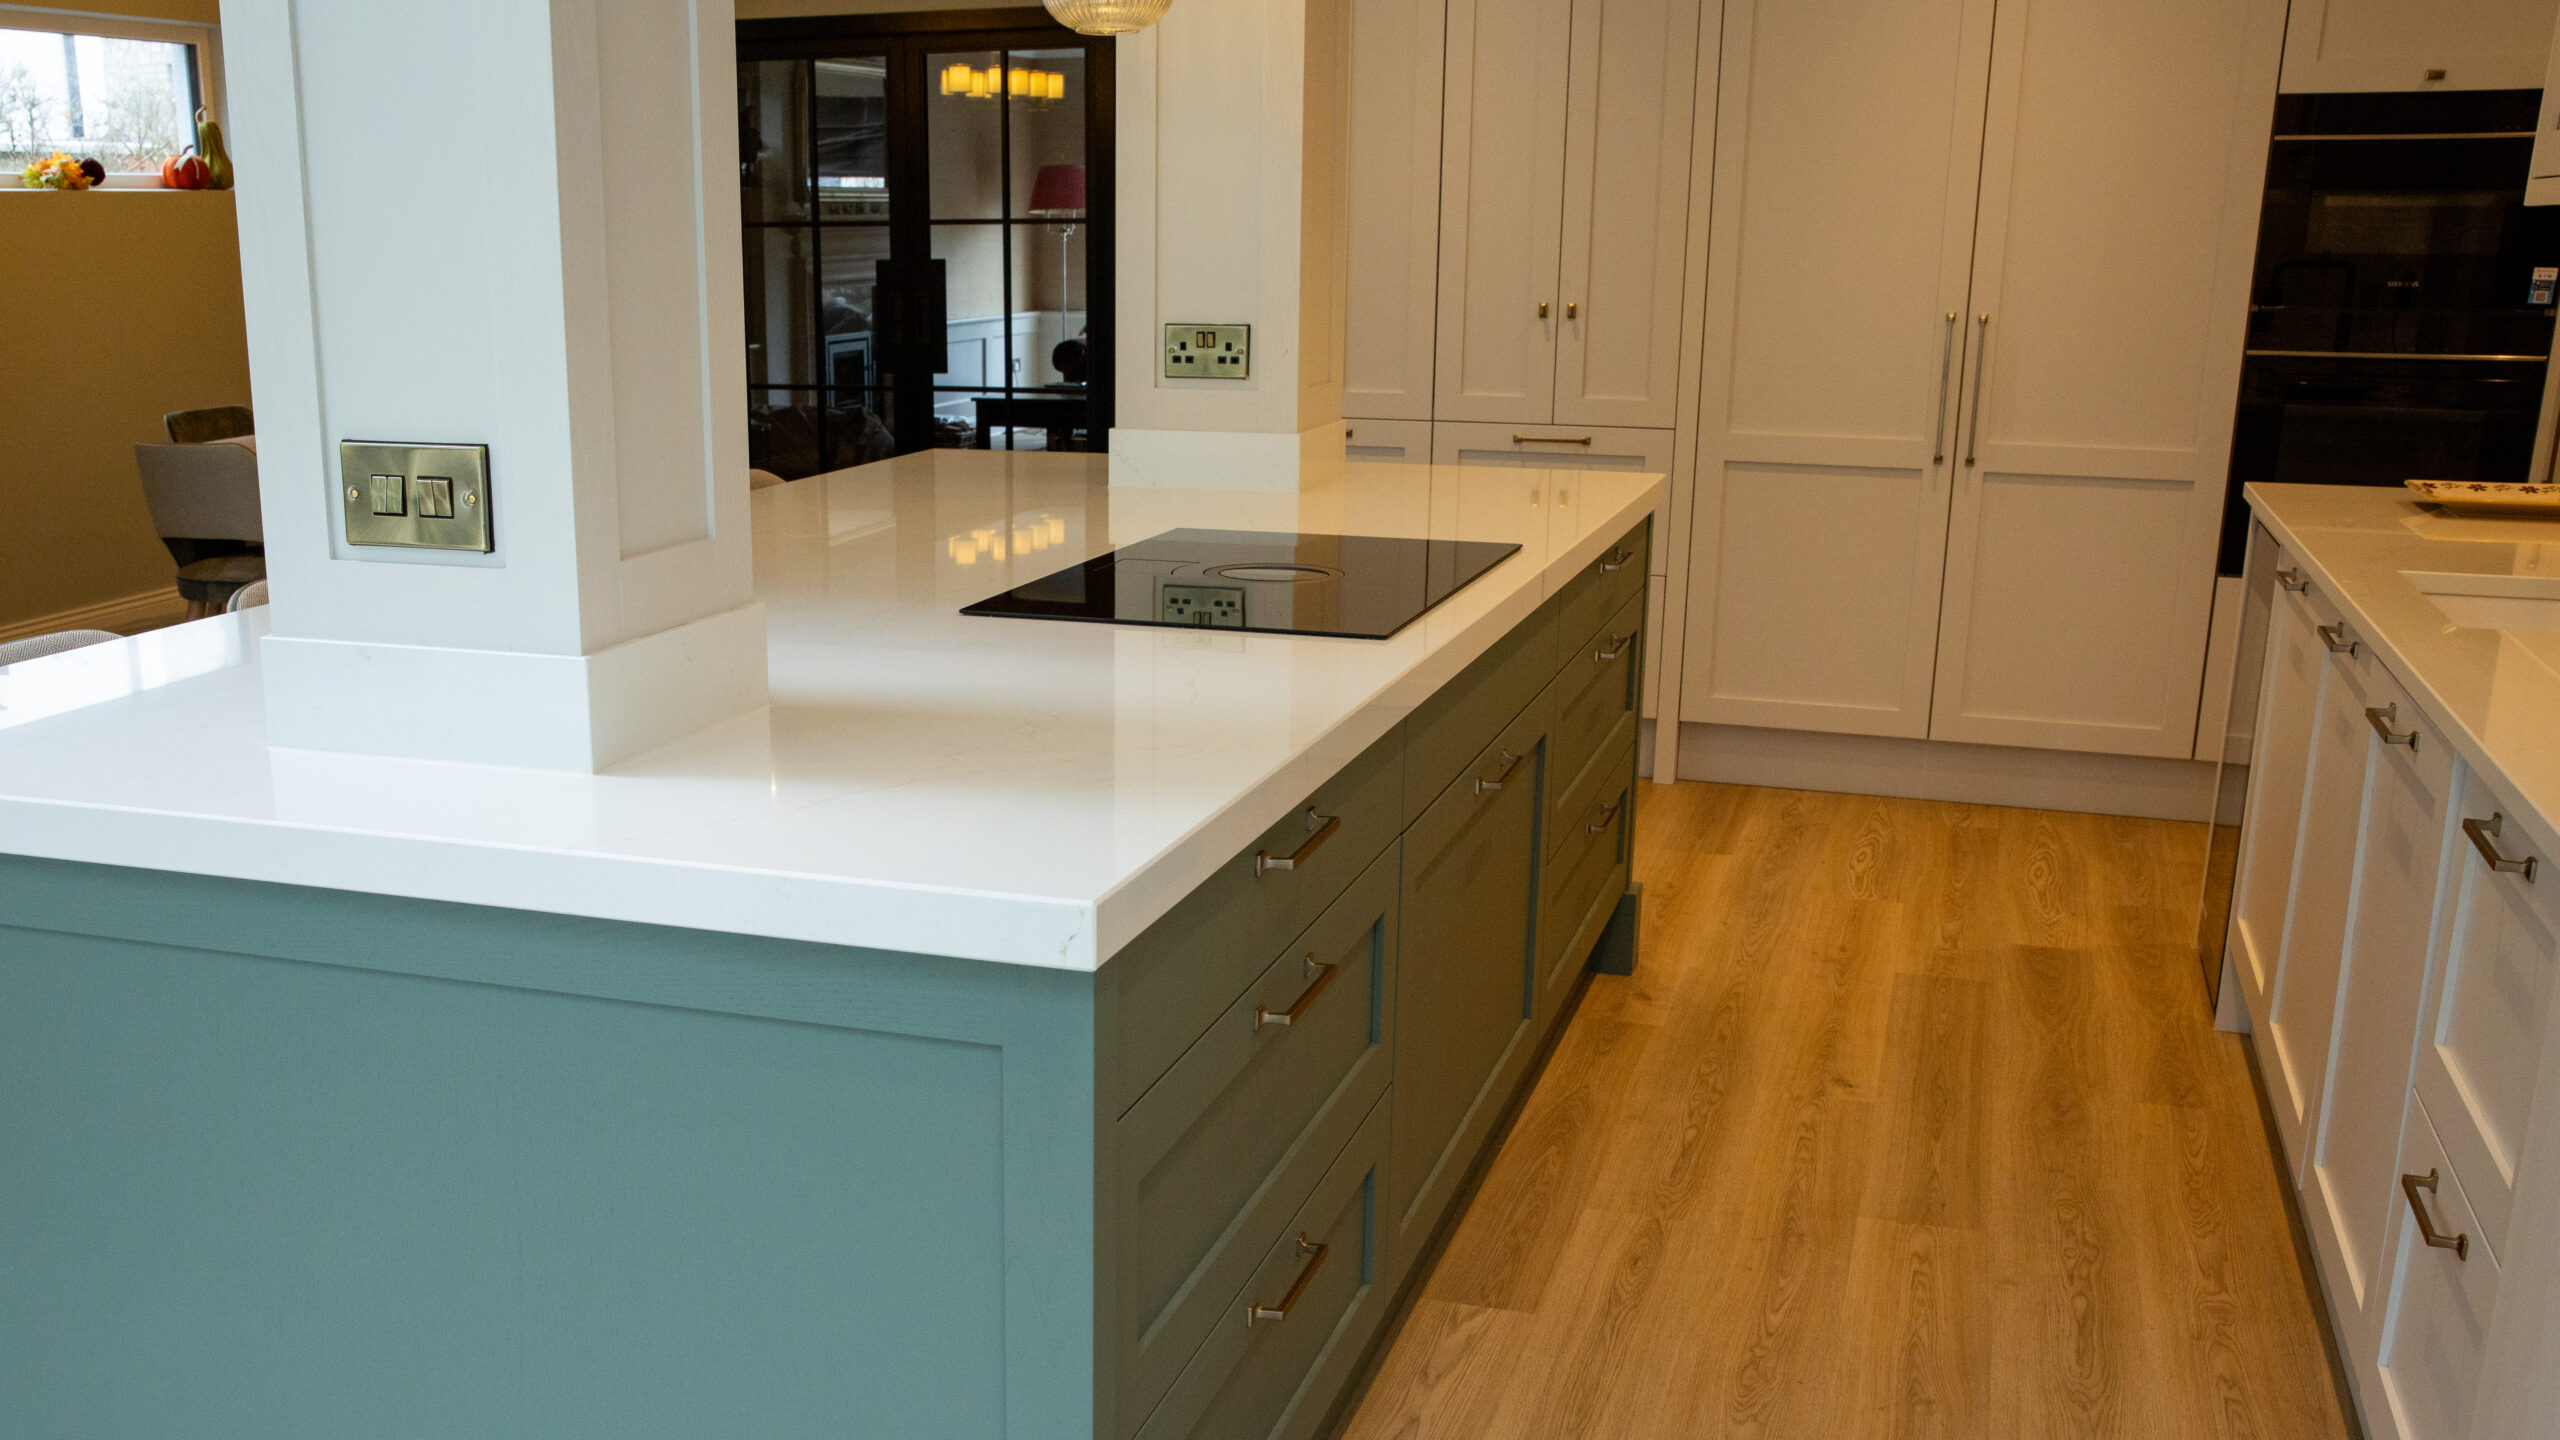
For homeowners who use the island as the primary prep and cooking zone, integrating the hob, sink or both into the worktop is the most efficient layout. It puts the cook at the centre of the room, facing into the family or dining space rather than towards a wall.
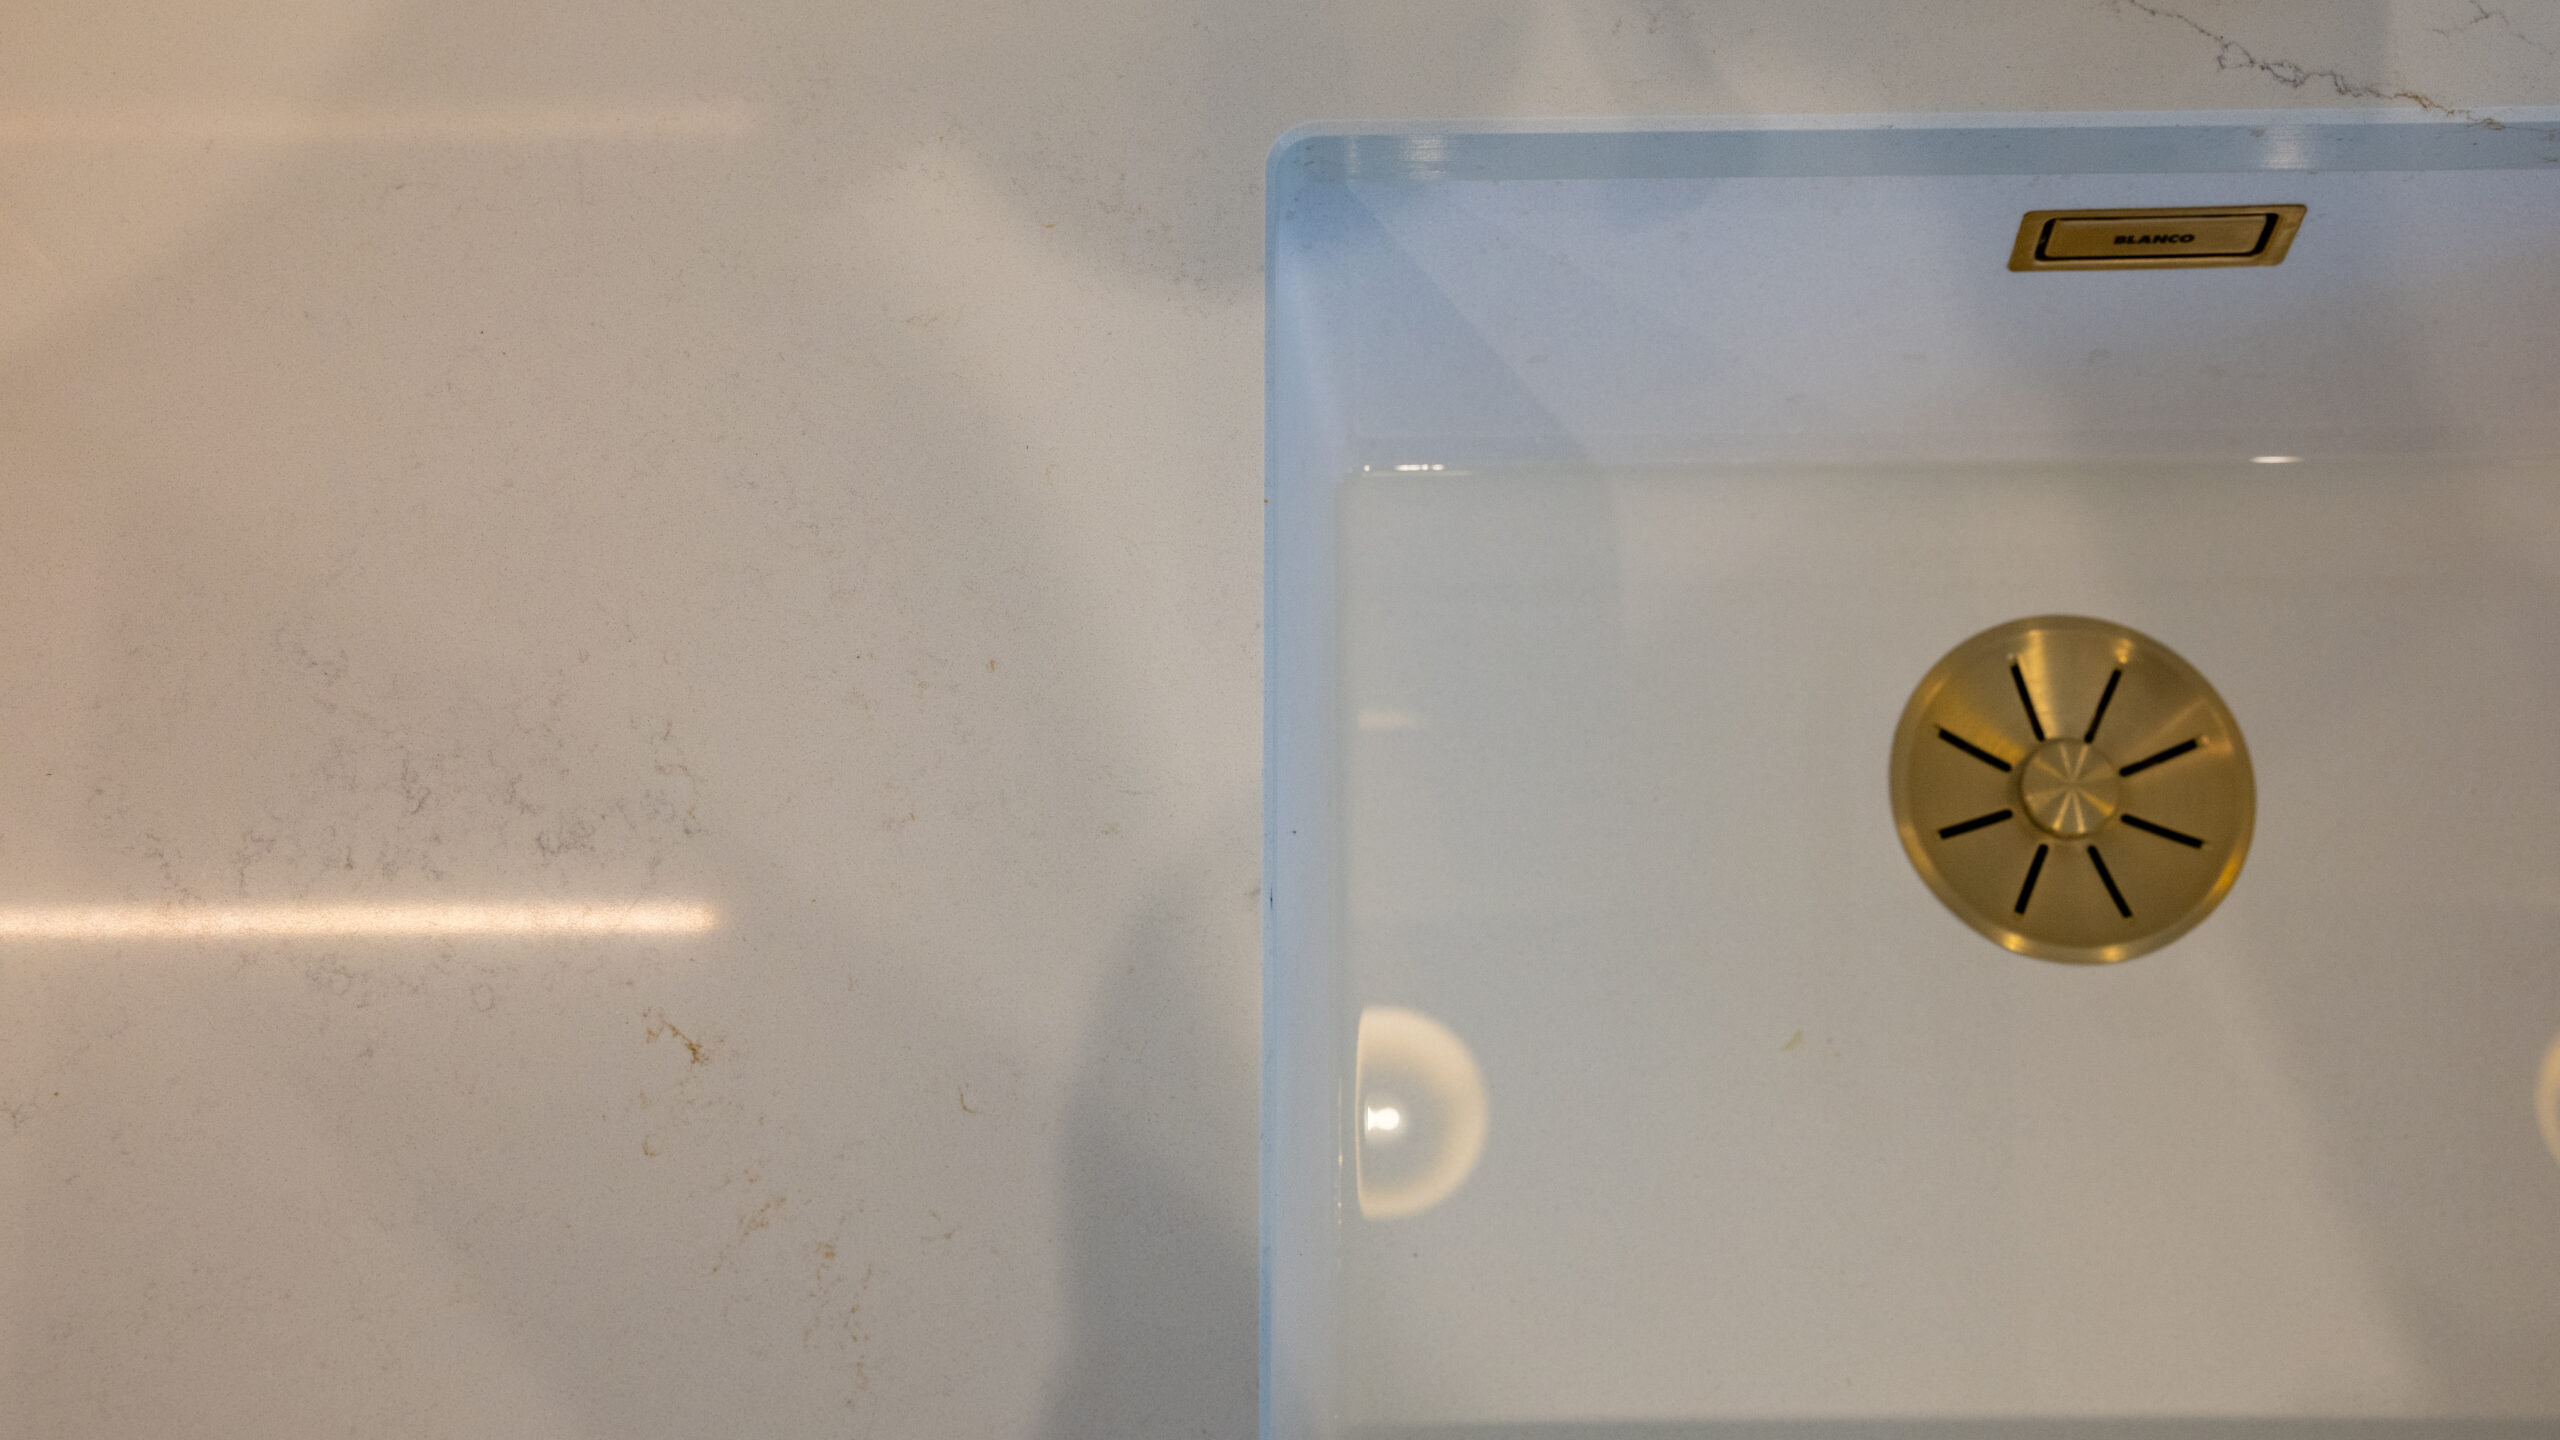
Precision templating is essential here. Every cut-out, drainer groove and tap hole must be measured exactly so that the slab fits cleanly first time. Our fabricators use laser templating and CNC cutting to achieve millimetre-accurate openings for induction hobs, downdraft extractors, undermount sinks and integrated drainer flutes.
Quartz and sintered stone are both well suited to integrated hob installations. See examples of cut-outs, drainers and integrated detailing in our worktop details, and learn how each opening is templated in our installation process.
What to consider
- Laser templating ensures precise hob, sink and tap cut-outs
- Integrated drainer grooves can be carved directly into the worktop
- Downdraft extractors keep sightlines clean in open-plan rooms
- Sintered stone offers superior heat resistance for cooking zones
- Allow time at templating stage to confirm all appliance positions
Budgeting
What Drives the Cost of an Island Worktop
Island worktops are priced by the job rather than by a fixed rate, because the same footprint can be specified in very different ways. Every decision in this guide feeds into the final figure, which is why two islands of a similar size can come back with quite different quotes.
What moves the price
- The material: quartz, sintered stone, porcelain and natural stone sit at different price levels
- Thickness: a 30mm worktop uses more material than 20mm
- Size: a larger island needs more slab, and a very long run may need a join
- Waterfall ends: each vertical end adds material and a mitred joint
- Cut-outs and edges: hob, sink, tap and drainer work, plus the edge profile you choose
For how granite and quartz worktops are priced in Ireland, and what a quote should include, see our worktop cost guide. To compare the materials themselves, read sintered stone vs granite vs quartz.
Explore further
Plan your island on notjustgranite.ie
Not Just Granite · Galway, Ireland
Get your island
properly measured
Plans on paper only get you so far. Our team templates every island on site to confirm the exact size, overhang and support it needs before a single slab is cut. Visit our Galway showroom or get in touch to arrange your measurement.
Get in touch ↗